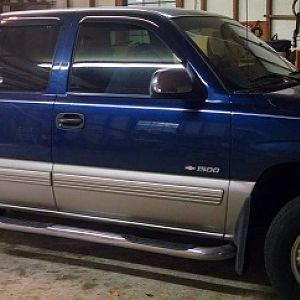
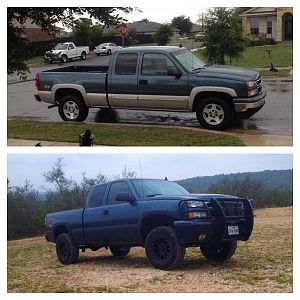
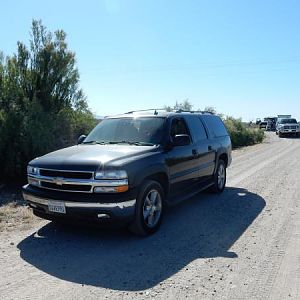
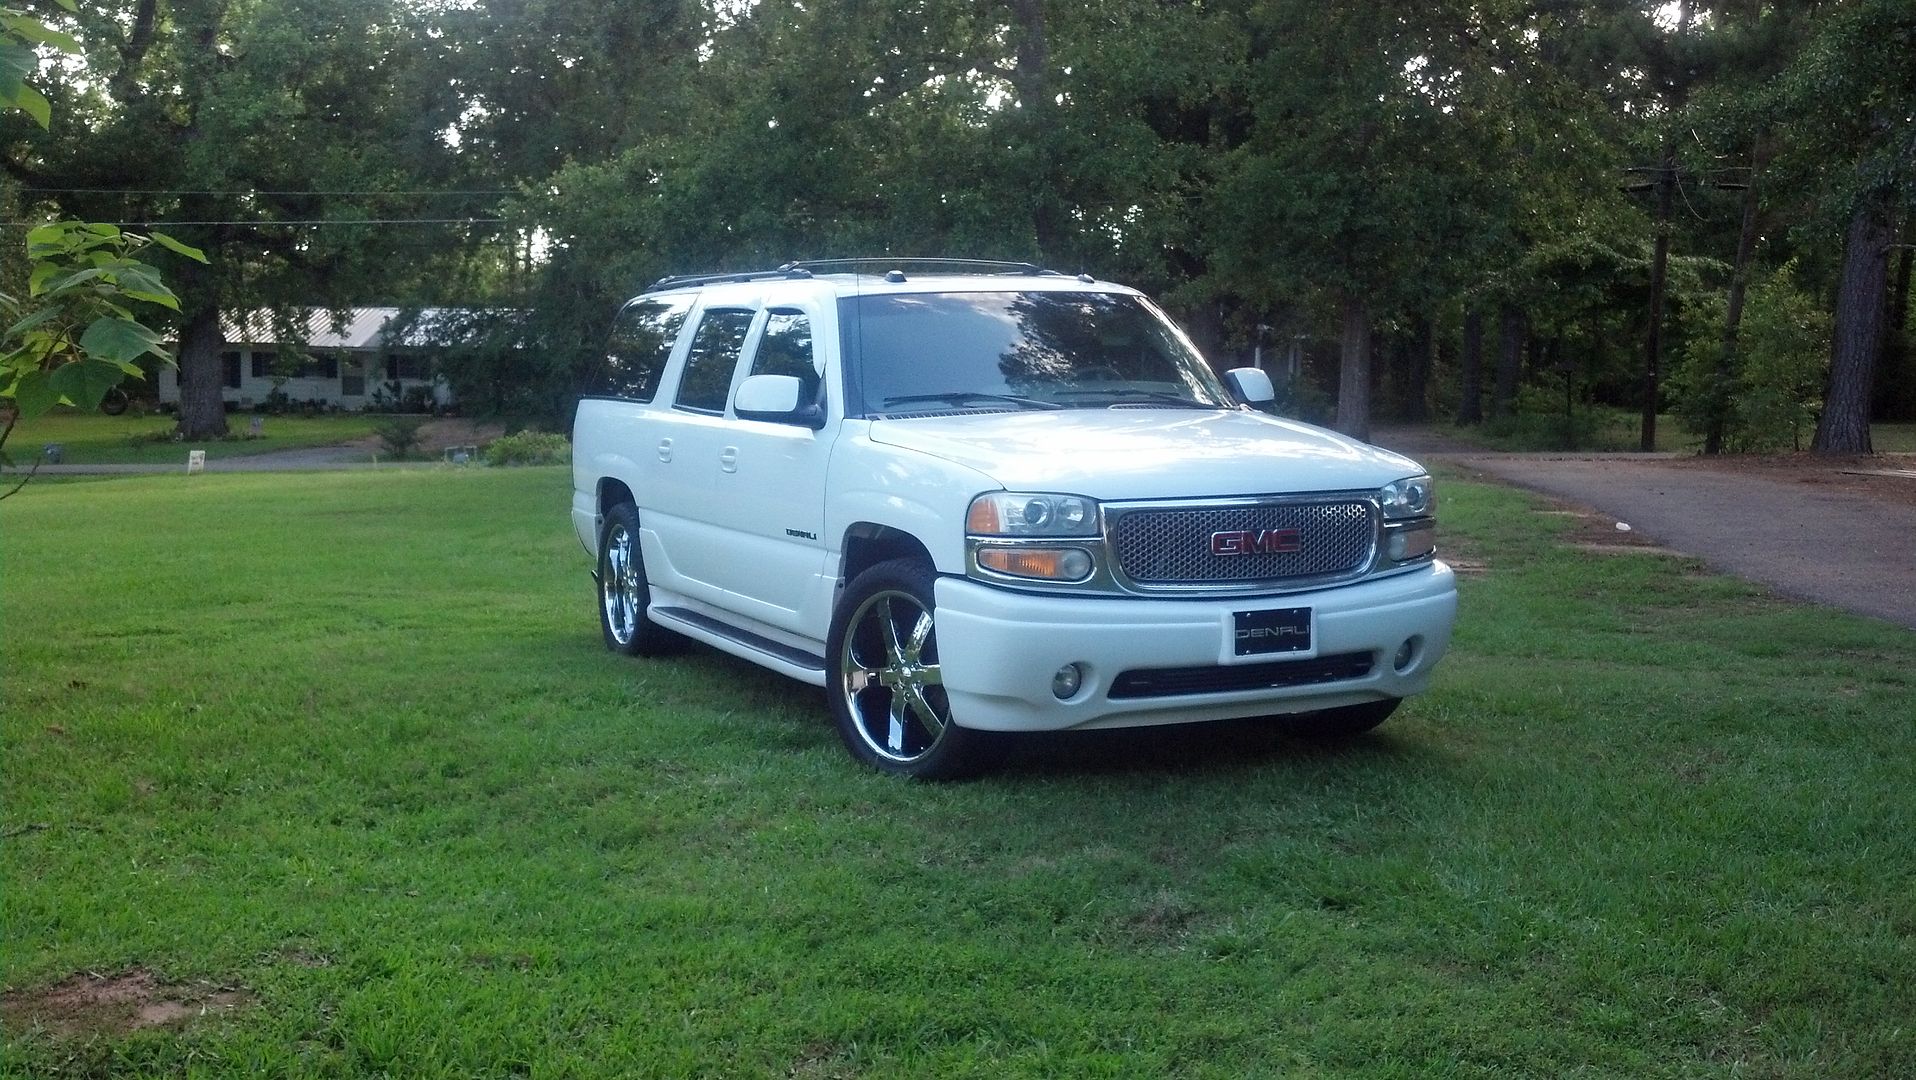
I'm not sure what all models this will interchange with, but our specimen for today is a 2004 Yukon XL Denali.
Here she is:
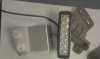
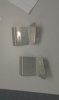
So, here is a little closer picture of a stock fog light. Its basically all plastic, weighs next to nothing, and generally seems like a $0.02 part. I've tried it out and wasn't impressed at all.
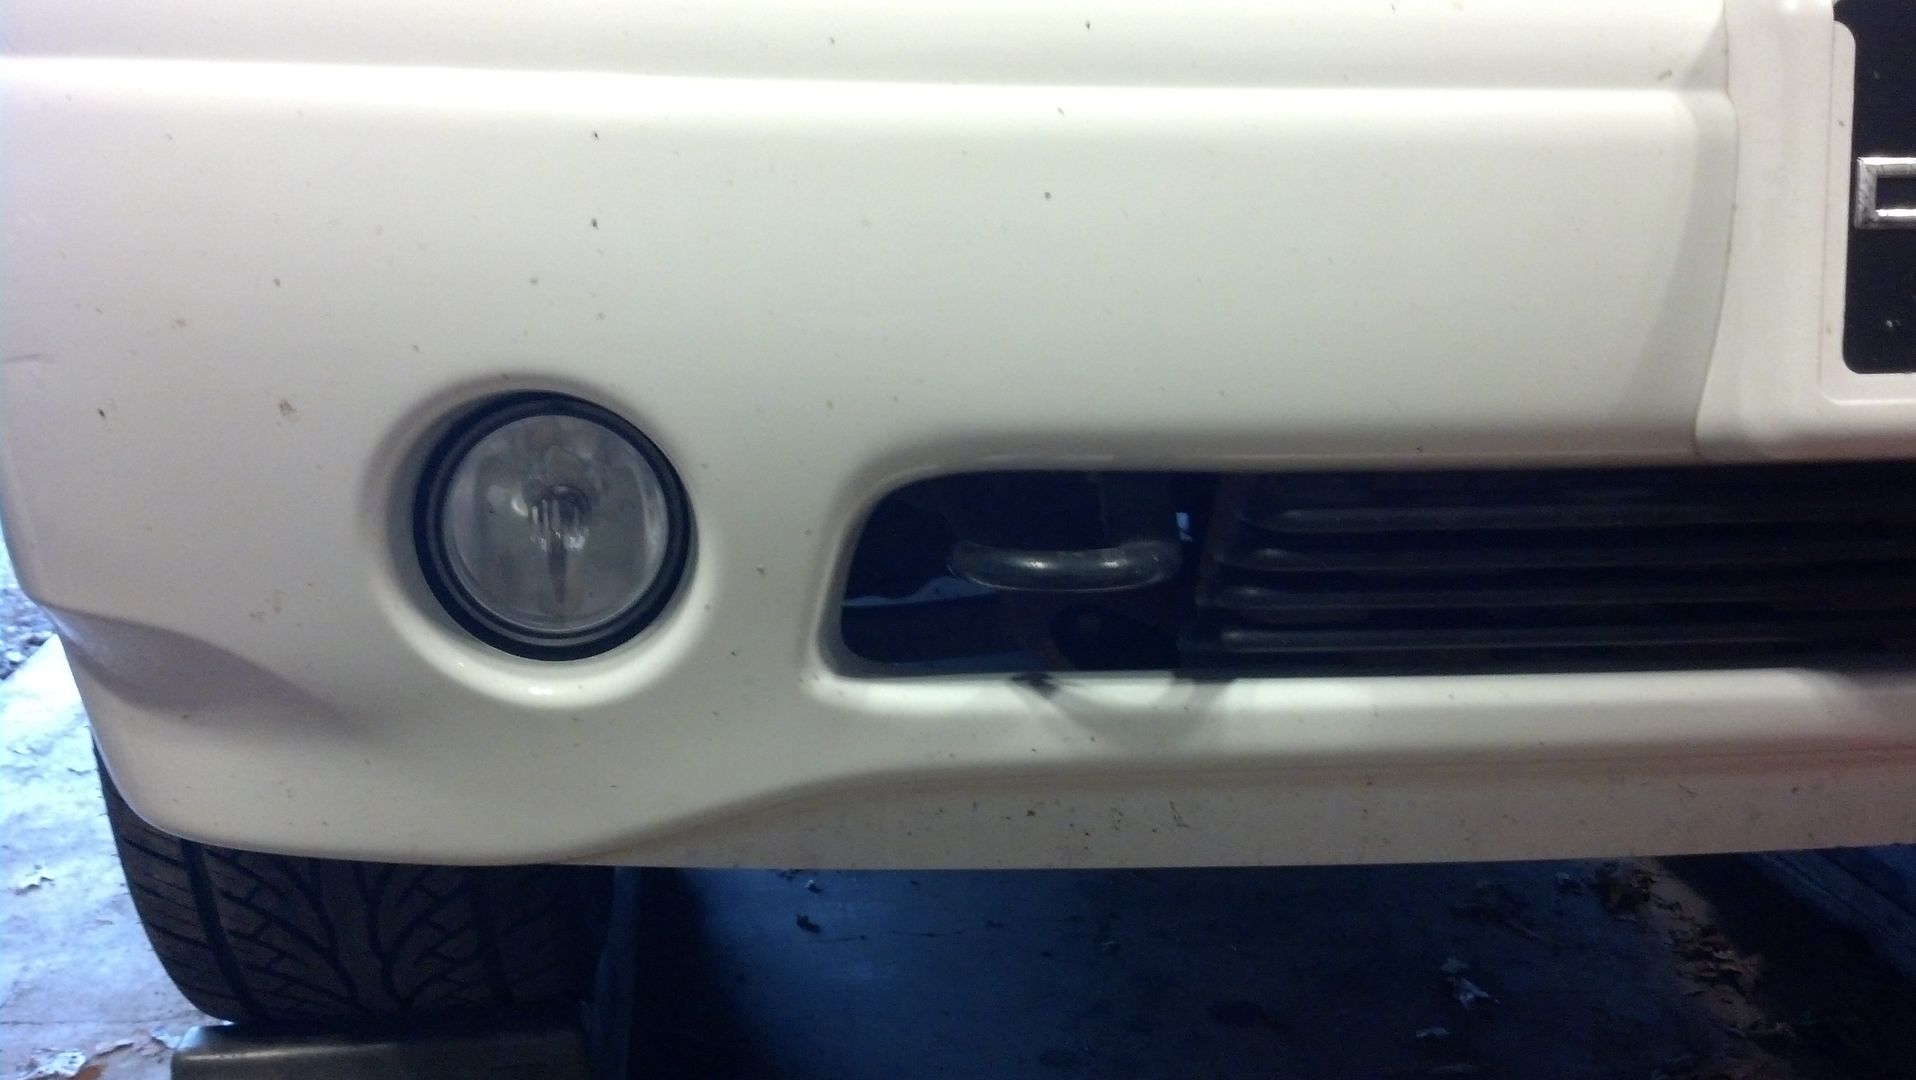
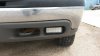
So, normally I would just leave them turned off and not worry with them. However, a guy named Hilton gave me a pair of LED lights and wanted me to put them to good use. The reason I chose this truck as the recipient was because of the driver light being cracked and filled with rain water when I bought the truck. I drilled a tiny hole in the lens to relieve the water and never thought much about them again....until now. This is a match made in heaven. Now after I did a quick measurement I gave myself the green light. Here's the culprit, likely a victim of a flying rock...

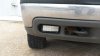
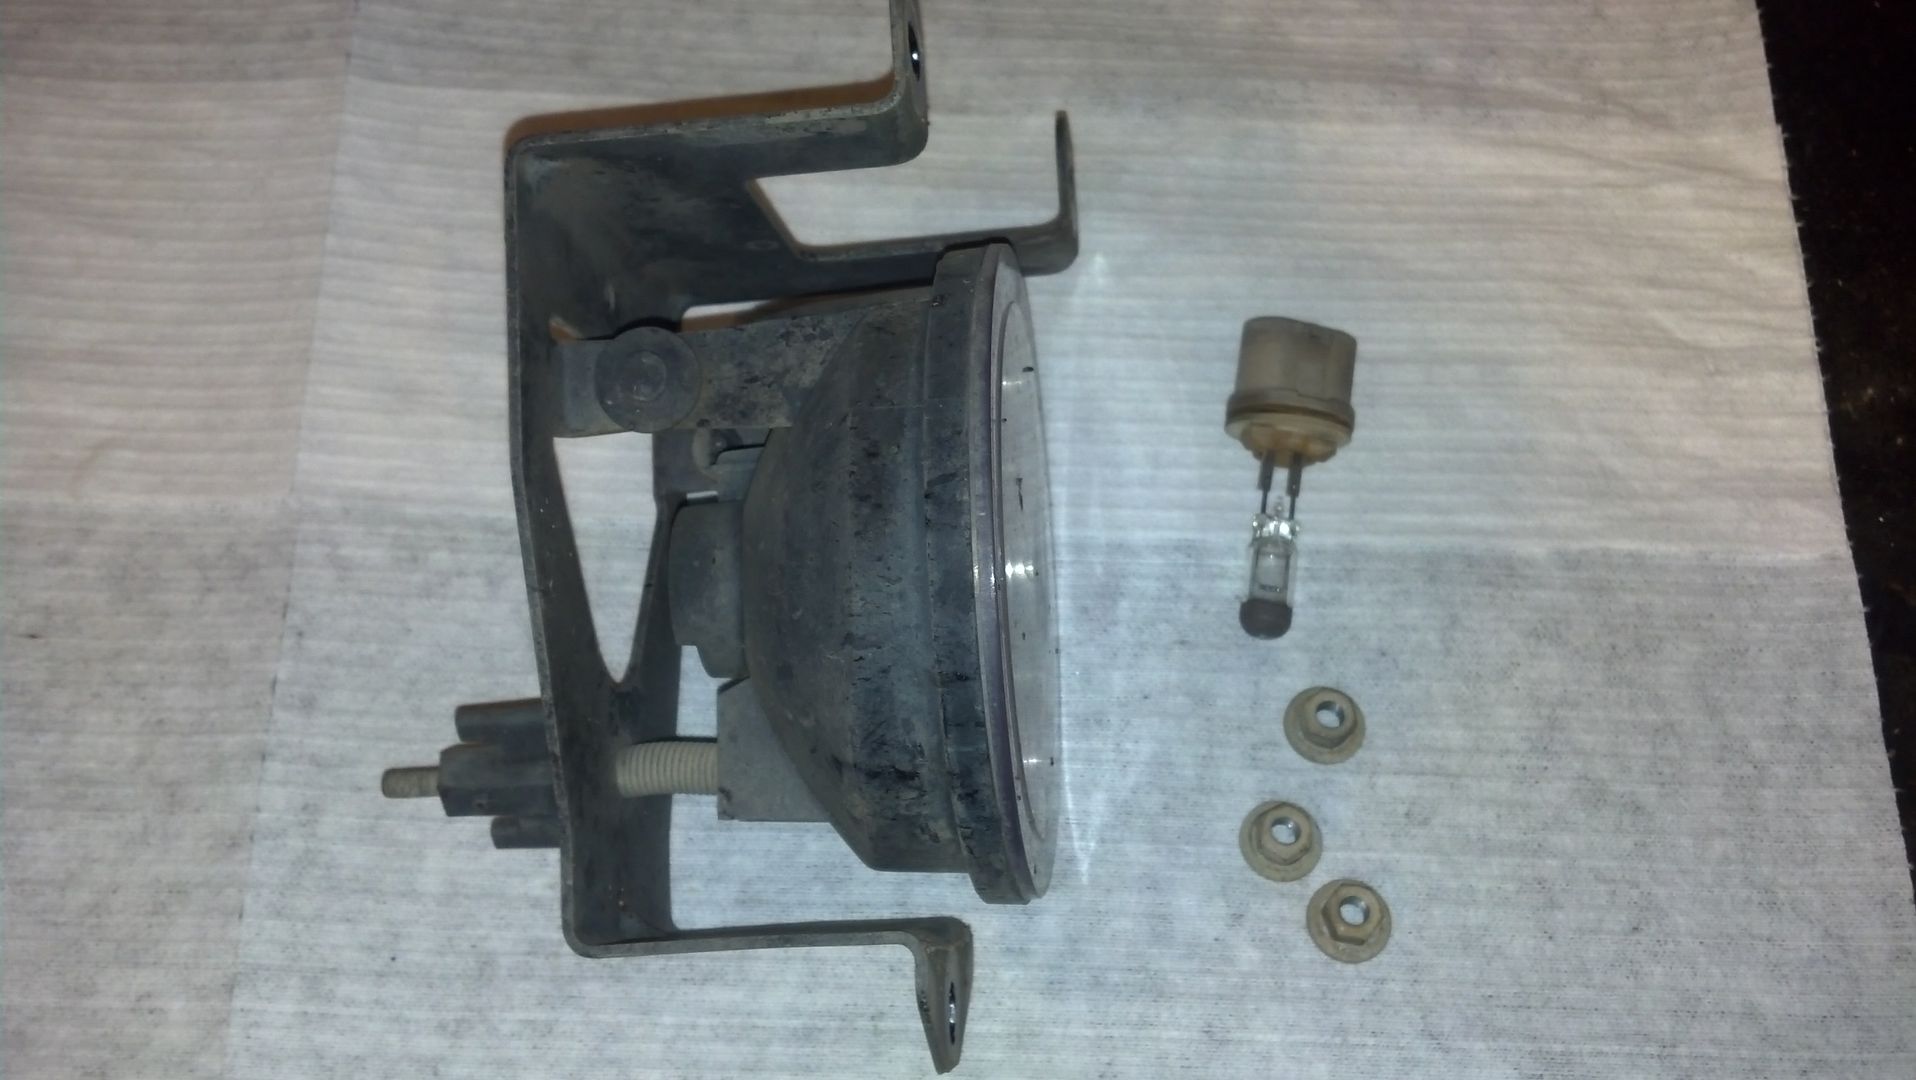
Here is a complete foglight assembly on the table. 3 10mm nuts hold it on the truck, and the studs are hard mounted to the fiberglass support behind the bumper. Notice the wing style adjuster, it will pivot the light up and down but there is no side to side adjustment capability with the stock bracket.
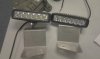
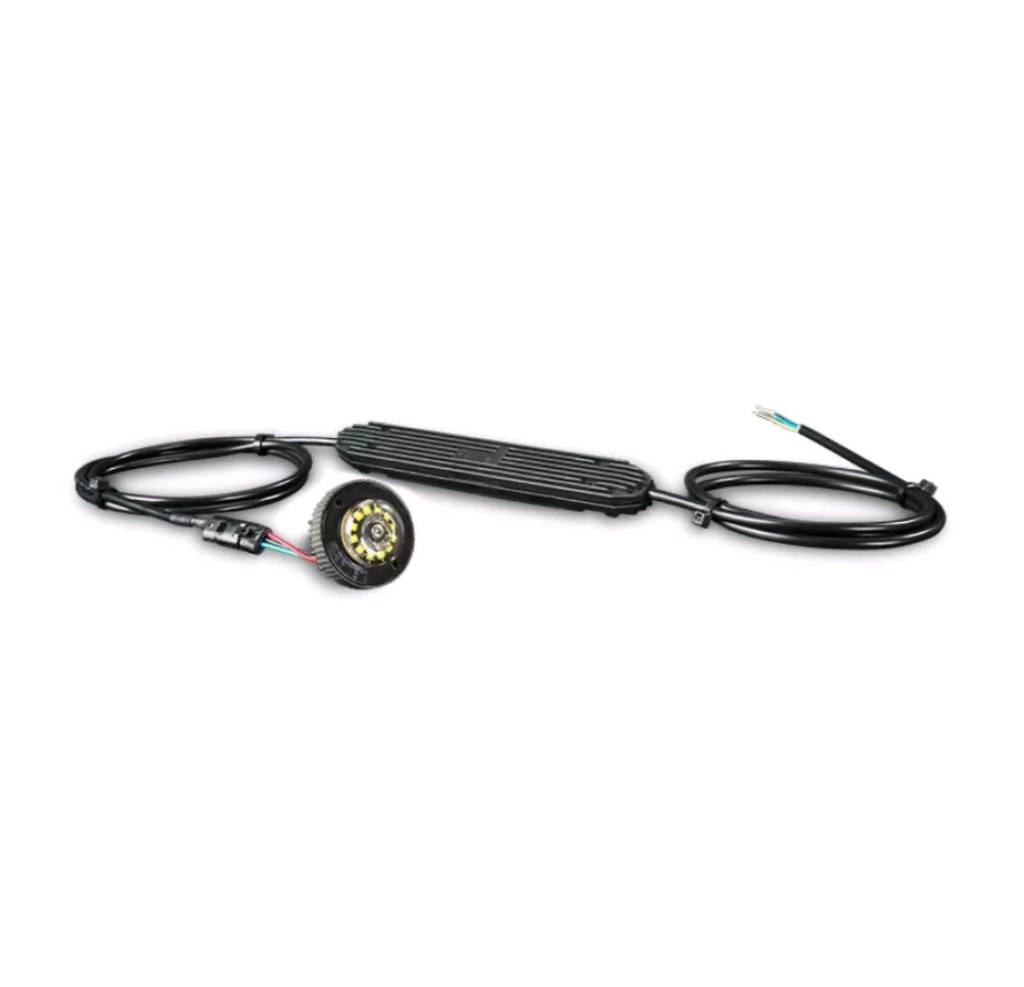
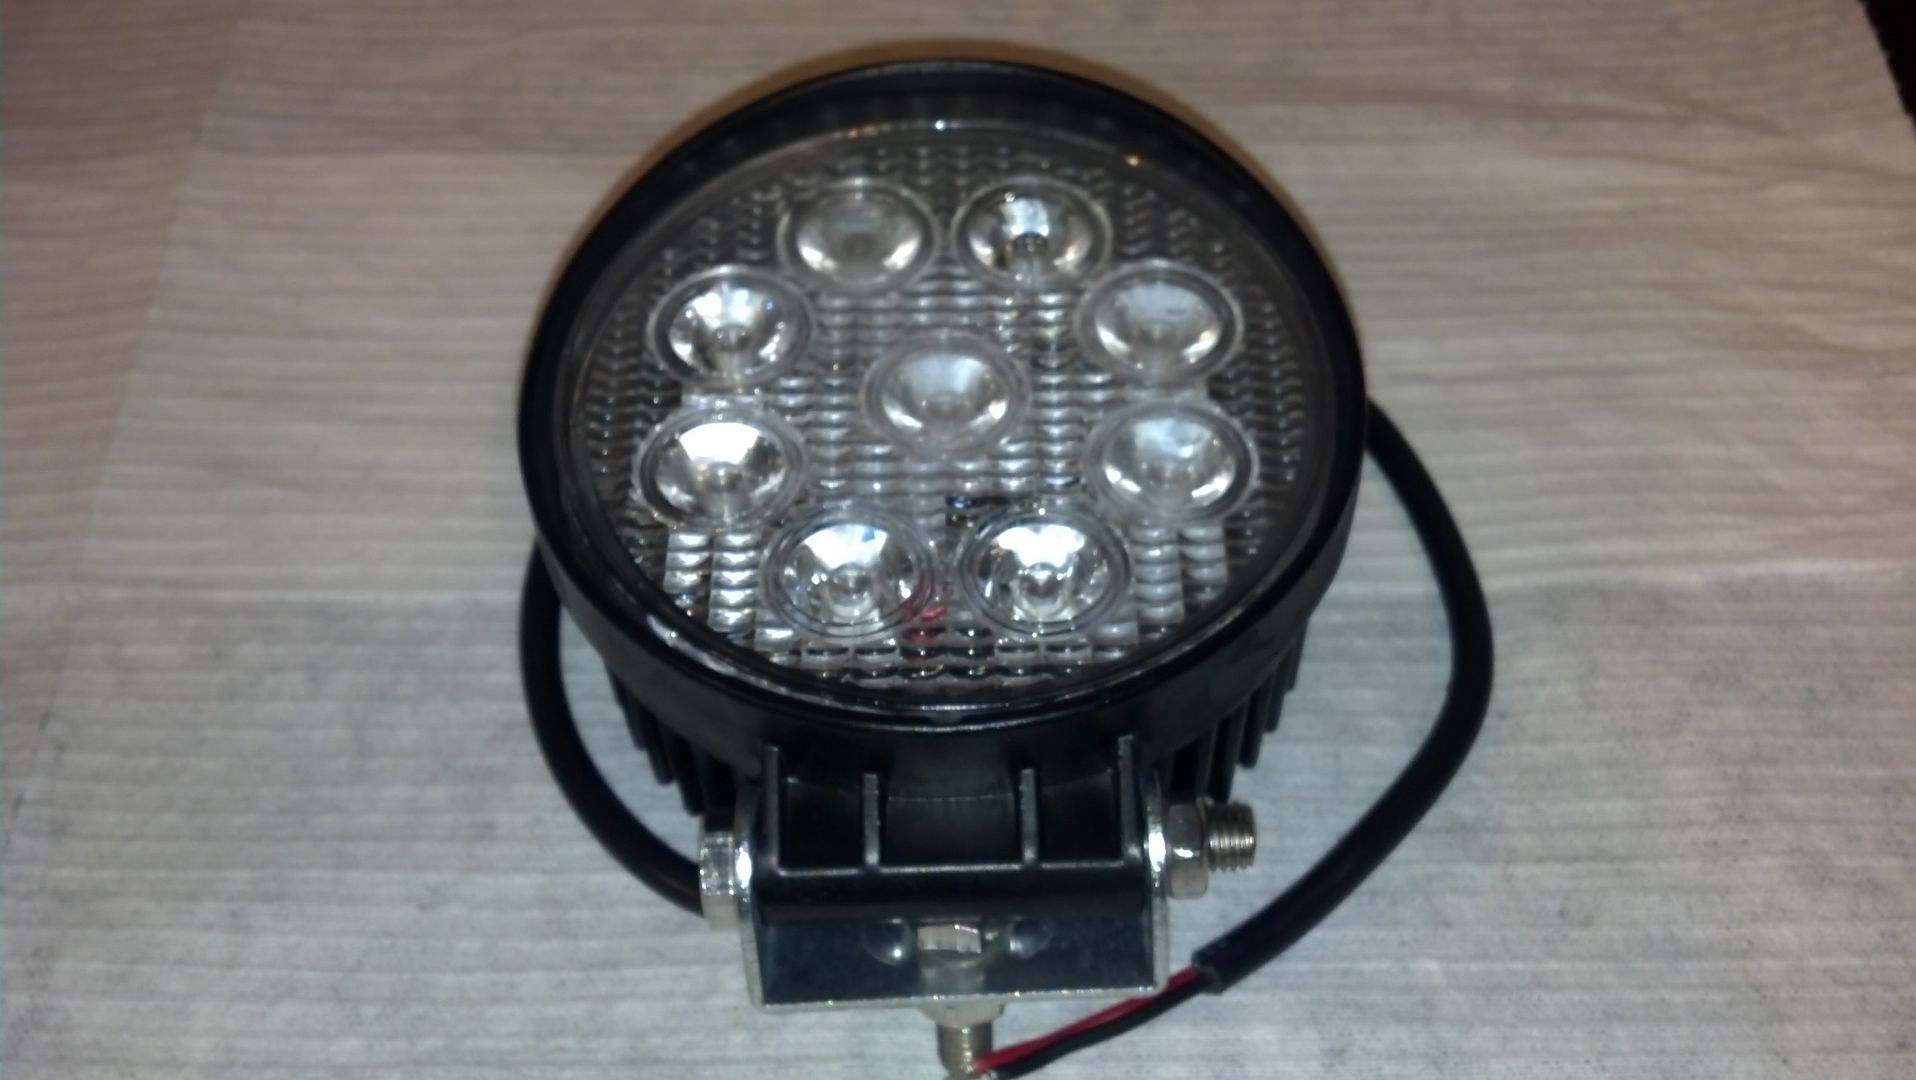
This is our replacement, they are readily available on amazon or ebay as a general 27w LED round bulb. Search that and it should pop right up. Price seems to be about $30 for a pair. I think this will work well as a fog light because the light should be very focused.

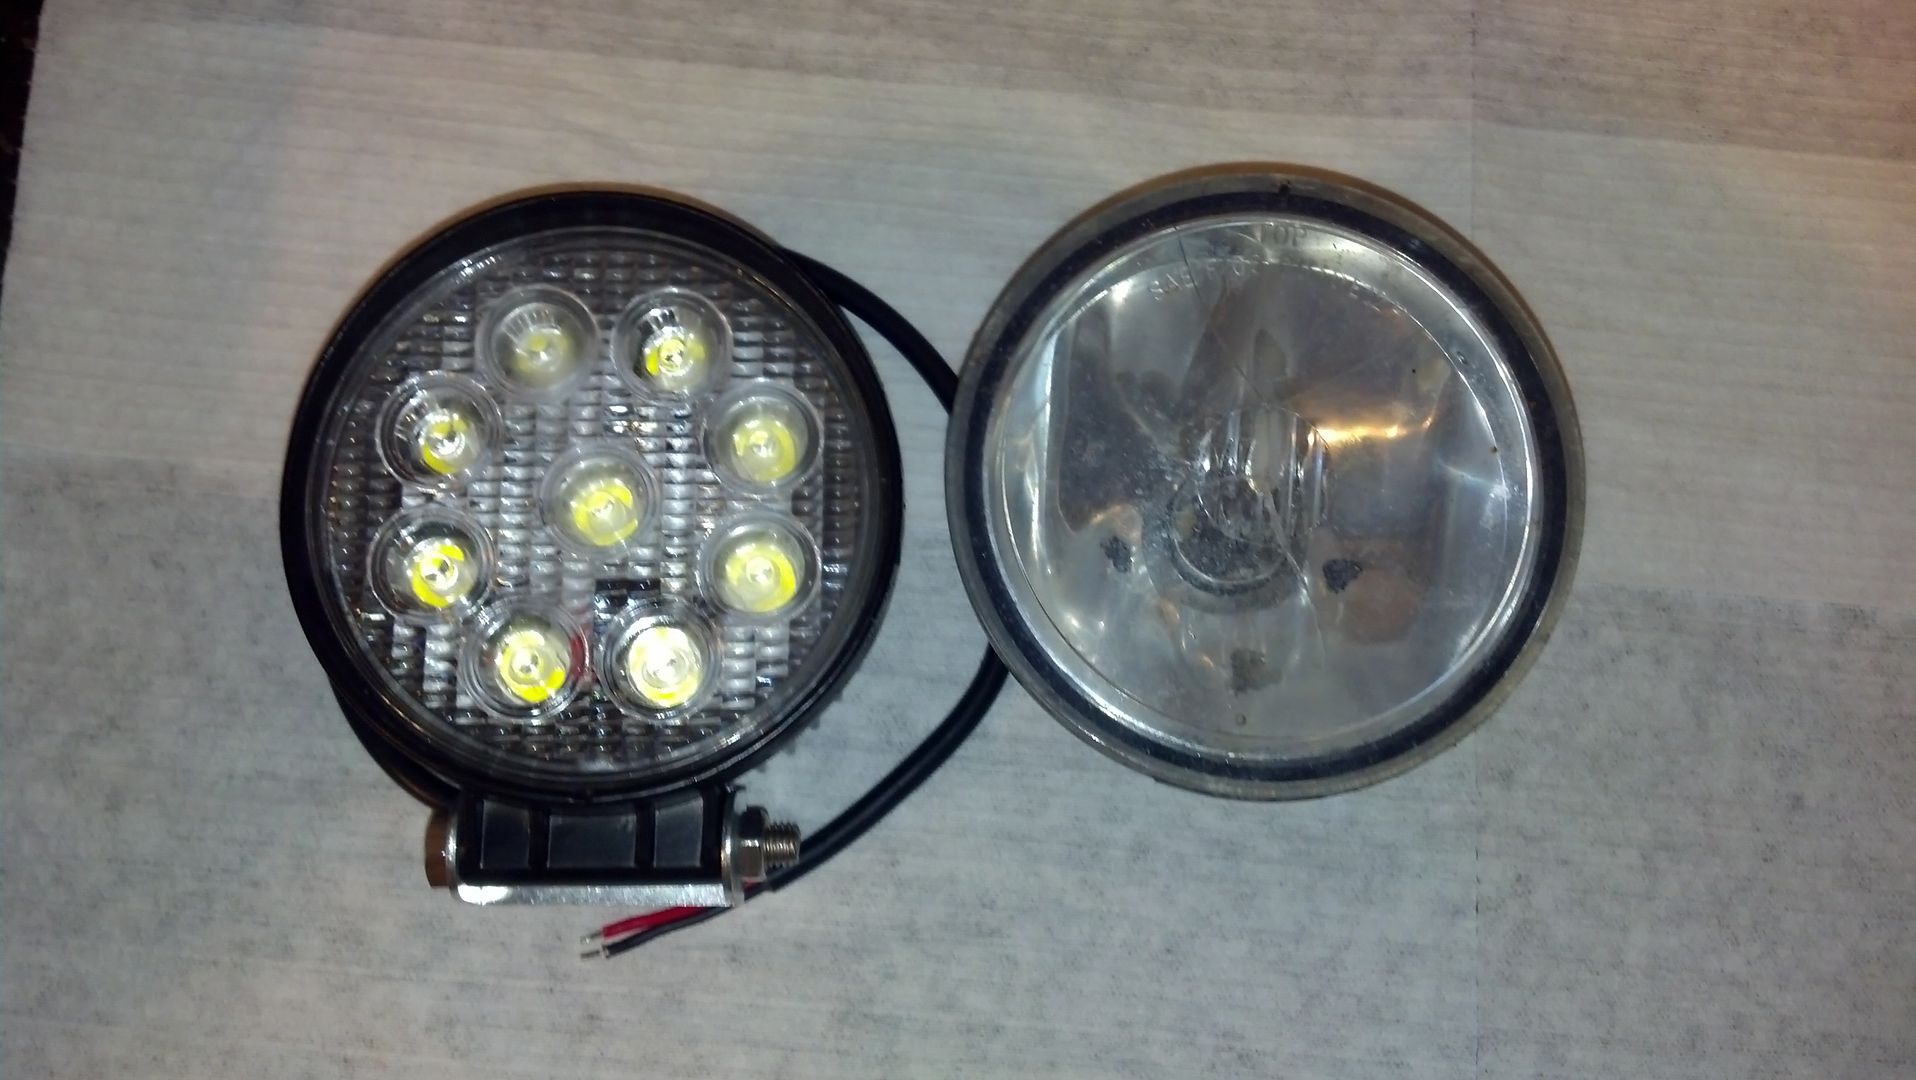
You can see it contains 9 LEDs total.
You can see here the size comparison. Its so close its spooky.
Here she is:

So, here is a little closer picture of a stock fog light. Its basically all plastic, weighs next to nothing, and generally seems like a $0.02 part. I've tried it out and wasn't impressed at all.

So, normally I would just leave them turned off and not worry with them. However, a guy named Hilton gave me a pair of LED lights and wanted me to put them to good use. The reason I chose this truck as the recipient was because of the driver light being cracked and filled with rain water when I bought the truck. I drilled a tiny hole in the lens to relieve the water and never thought much about them again....until now. This is a match made in heaven. Now after I did a quick measurement I gave myself the green light. Here's the culprit, likely a victim of a flying rock...

Here is a complete foglight assembly on the table. 3 10mm nuts hold it on the truck, and the studs are hard mounted to the fiberglass support behind the bumper. Notice the wing style adjuster, it will pivot the light up and down but there is no side to side adjustment capability with the stock bracket.

This is our replacement, they are readily available on amazon or ebay as a general 27w LED round bulb. Search that and it should pop right up. Price seems to be about $30 for a pair. I think this will work well as a fog light because the light should be very focused.

You can see it contains 9 LEDs total.

You can see here the size comparison. Its so close its spooky.