burgundybeast04
Well-Known Member
Hey guys. Installed leds in my engine bay today so I thought I'd give anyone a hand if they want to do it. I kinda got excited while I was doing it and so I didn't take very many pictures or very good ones lol but this is a really simple mod to do. I based it off of the other DIY guide on engine bay lights however this guide will be specifically for trucks that do not have the under-hood light from the factory. This mod will make it so the lights turn on as soon as you pop the hood. Here are the supplies needed...
Materials:
LED lights (http://www.ebay.com/itm/261214745115?_trksid=p2059210.m2749.l2649&ssPageName=STRK:MEBIDX:IT)
you will not use all of these. well you can if you want but I found 8 to be plenty for me. I will be using the rest and some more in my bed tomorrow. another guide coming for that.
$15
Hood pin switch
There are a couple bucks from ebay or amazon.
Wire
Pretty much anything you want. I bought 20 ft total of wire from canadian tire (proud to be canadian!!!) 10ft black for ground and 10ft colored (whatever color you like) for positive
$15ish
Wire loom
Cheap online or also from cad tire
And whatever you wanna use to connect wires. Can solder if you want. Im lazy so i used heat shrinkable butt connectors. These are expensive in stores but cheap online. i bought 100 for around $30 on ebay. the alternative is buying 4 for $8 at canadian tire. and you need A LOT.
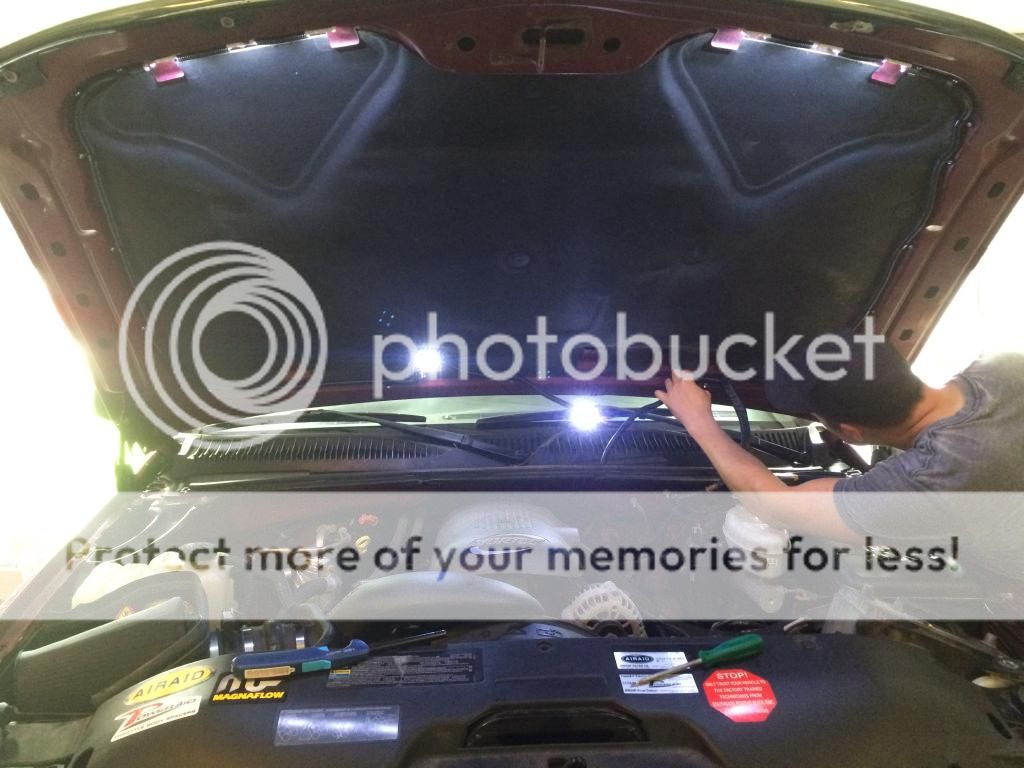
Alright so lets get started. First thing i did was mount all my lights. First i stuck them on with the double sided tape then i secured them with screws. please for the love of god be careful and make sure you dont screw through the top of your hood. you can place them wherever you like. Here is how i did mine.
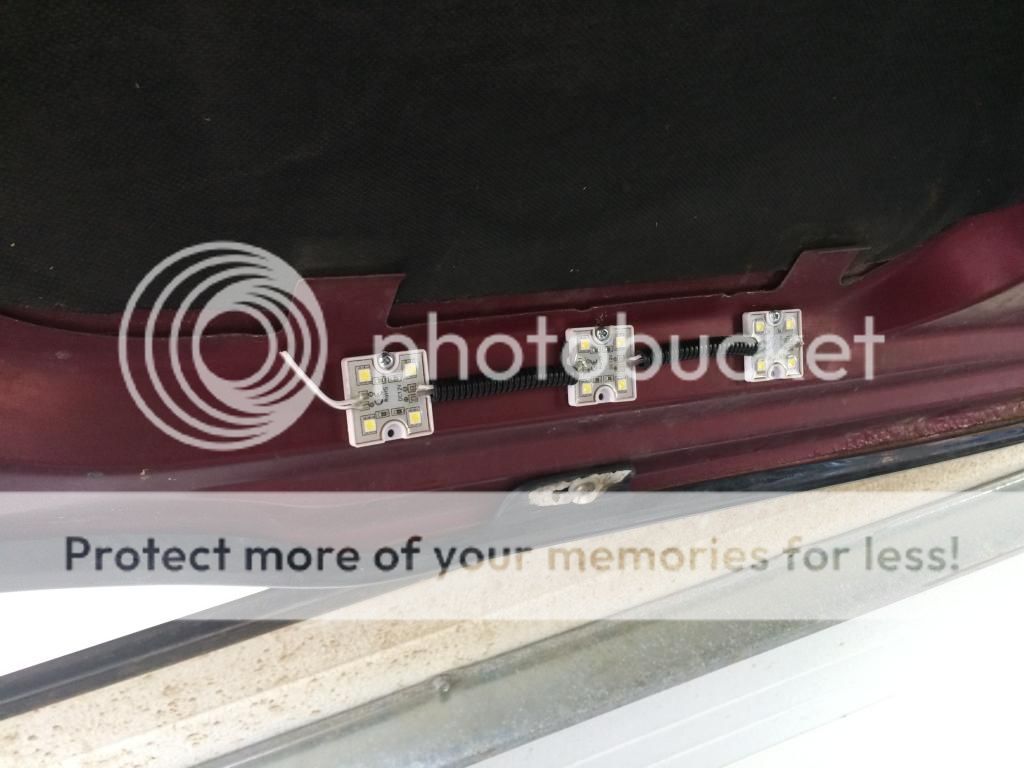

I also mounted 2 of the modules on the 2 tabs at the bottom of the hood nearest to the middle of the engine. apparently I got so impatient i took the picture before I mounted them all. you will see later in the thread where they are mounted.
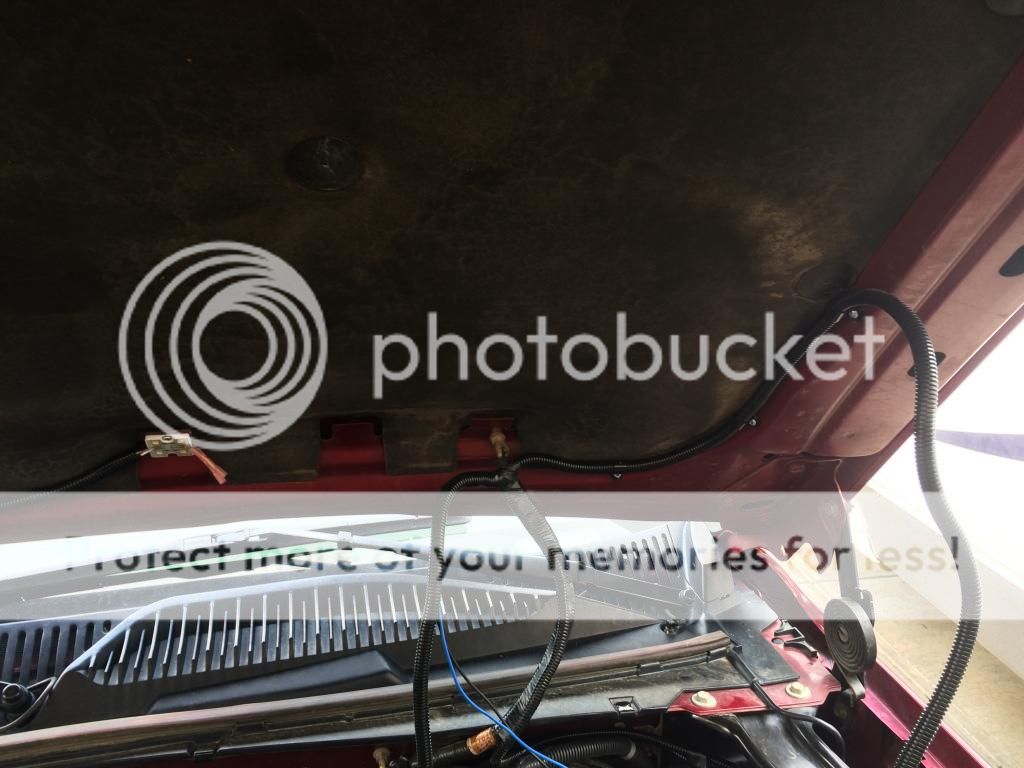
Next you will need to run your power and ground wires. Your ground will go to a hood pin switch installed by you. I have a power distribution block mounted on my core support so that's where my power came from but your will have to come from the little red power box near the alternator. sorry I didn't take a specific picture for the hood pin switch but you can see it near the bottom of the second picture below.
Power from my distribution block

Hood pin switch and running wires
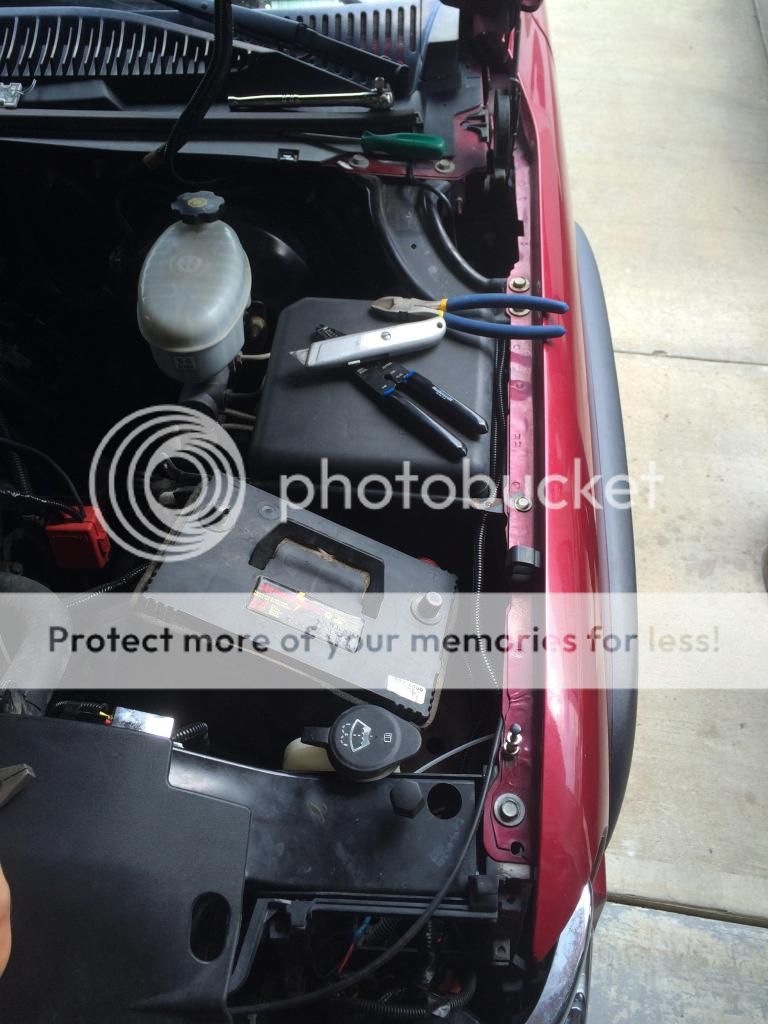
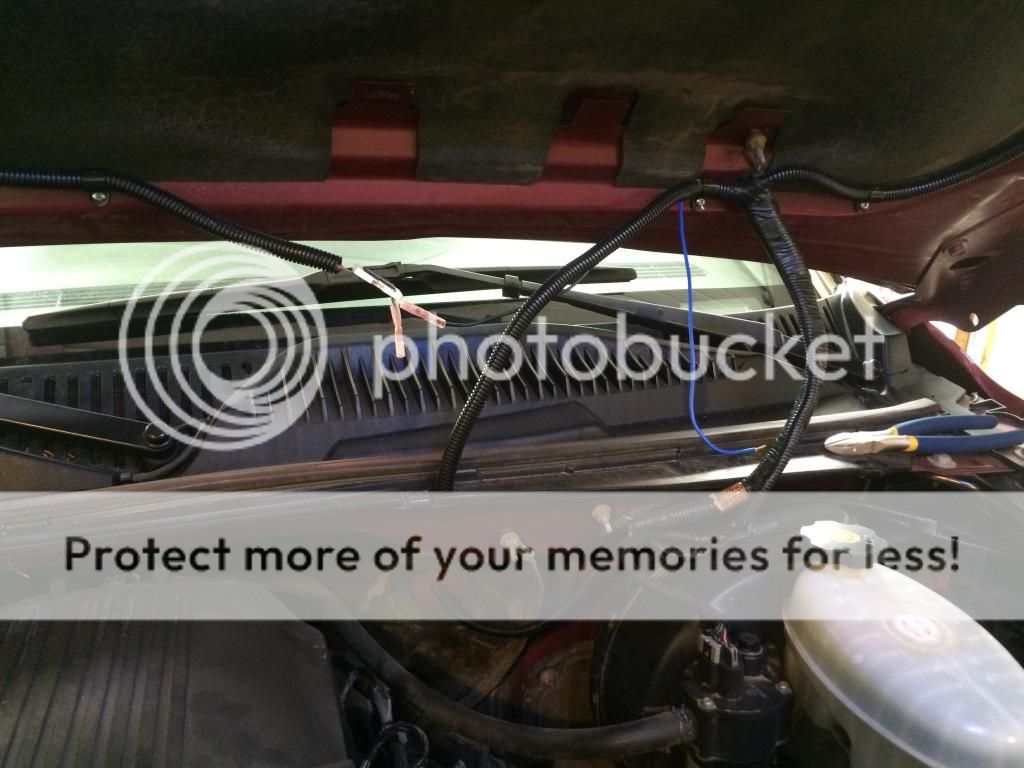
I ran my wires in loom behind the headlights and up the side of the truck as you can see. to easily accomplish this I removed the headlight and battery. Run both your wires to this factory ground wire mounted between the truck and the hood. secure your LOOMED wires to this using zip ties or electrical tape. I used electrical tape because it looks cleaner IMO.
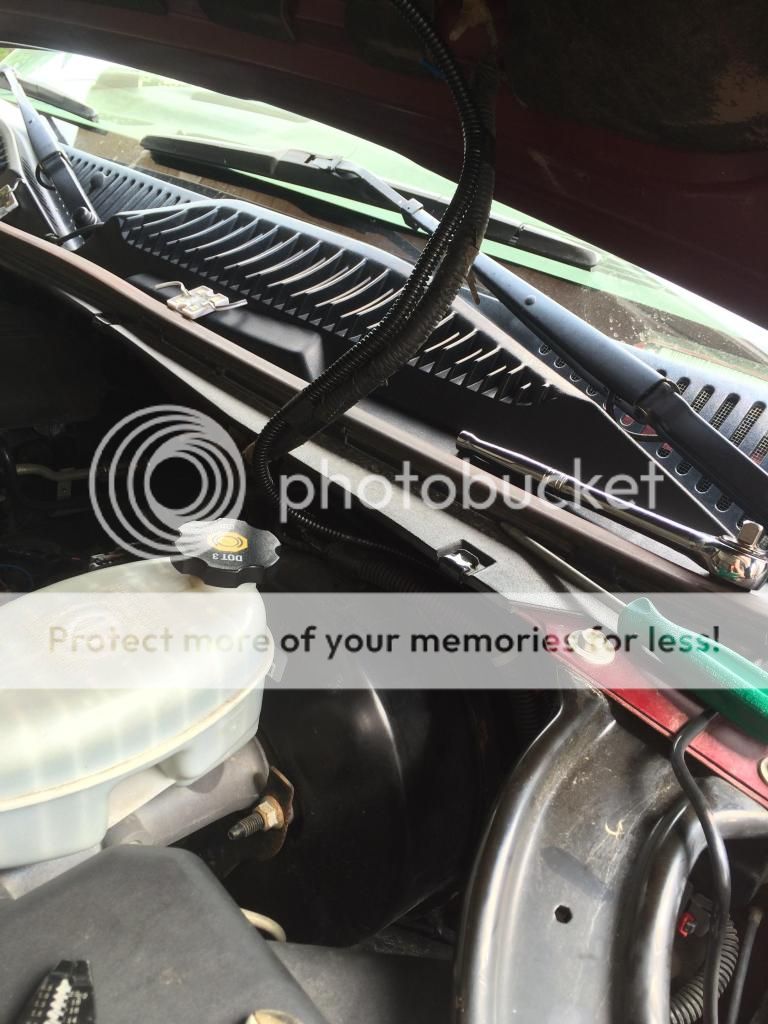
Next you will need to split both wires in 2. once again i used heat shrinkable butt connectors. tape it up and make it look clean please.
Alright. now you need to run wires between all your lights. be sure not to mix up your ground and power cause then you're in for a real treat when you set your truck on fire or ruin every possible ground. to avoid worrying about this you can put a fuse on your power wire. I'm lazy so I decided to be careful.

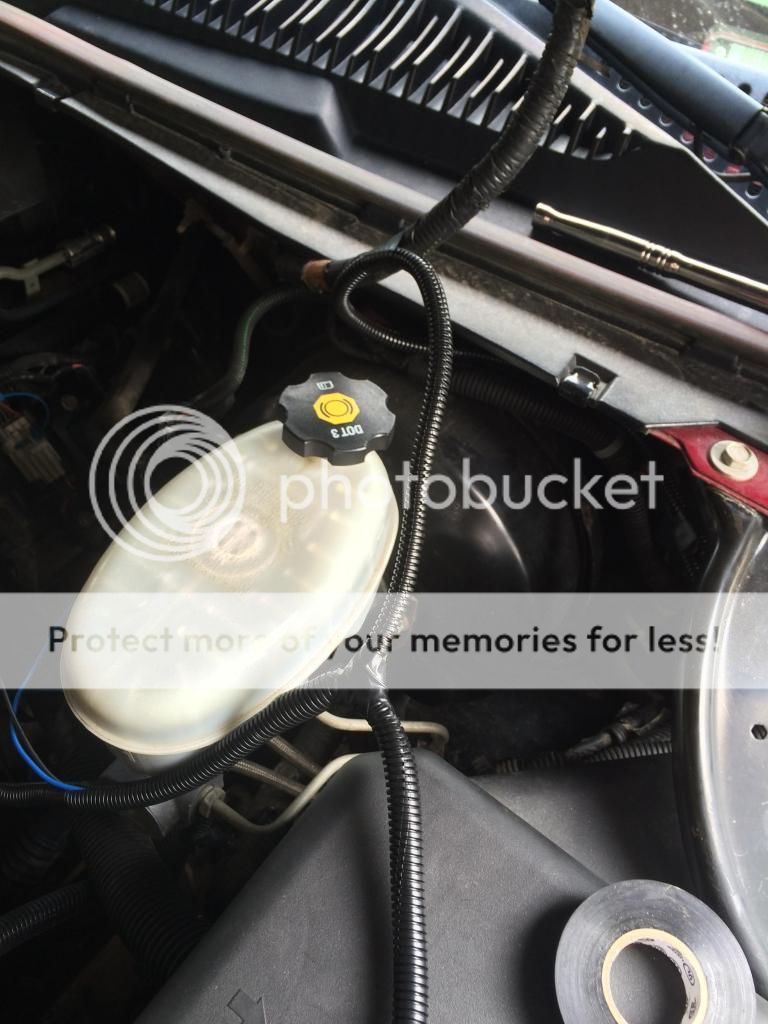
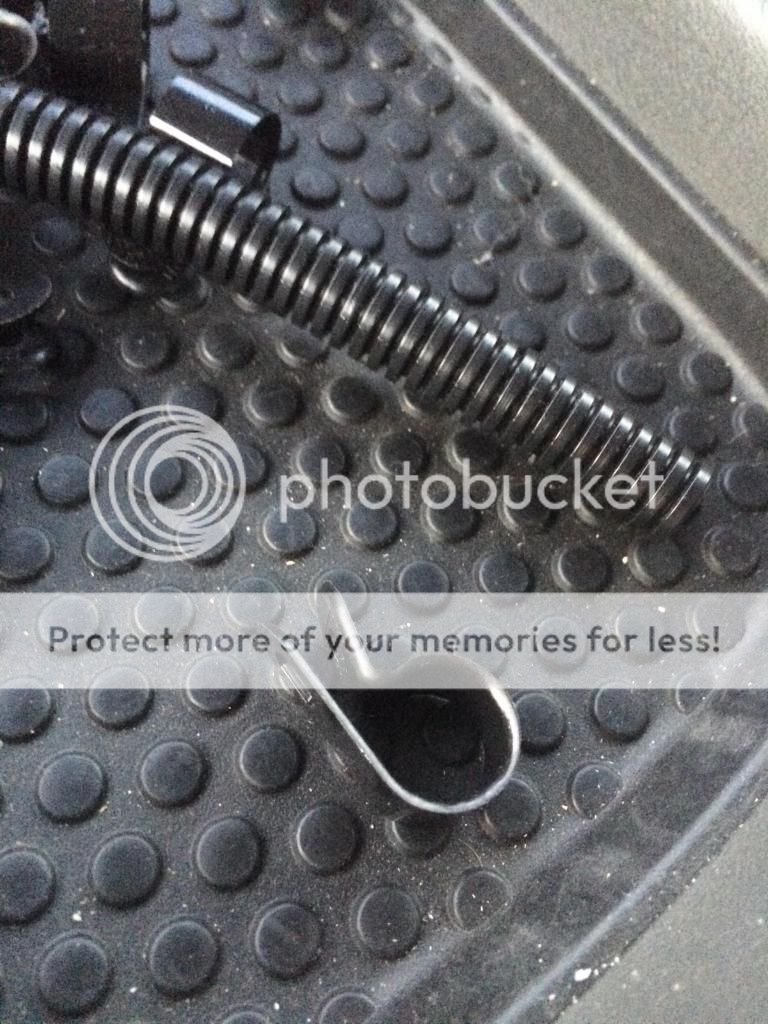
Sorry for the crappy pictures but its all I got. This is a bit tricky because you need to get the wires the correct lengths and not too short cause that's no fun. I used the heat shrinkable butt connectors again and loomed with 3/8" loom. The loom can then be mounted perfectly with 1/2" nylon cable clamps like these
Next I started running my wire up the other side of the hood from the other side of my t connection.
I found the best way to run the wires was to cut it longer than you need, loom it and then cut it to the correct size after the loom is secured to the hood. Here is one side of the t wired up.

Cant see it very well in the following picture but I removed one led from the truck to make it easier to crimp the wires.
Some finishing touches. securing everything and making sure everything is loomed and clean looking.
Let there be light!!!

That's basically all there is to it. Please forgive my awful indescriptive instructions but there are so many different ways you can do this depending on the supplies you use and how many lights you want to accomplish and their positions on the hood. Please don't be afraid to PM me if you have any questions or reply to this thread.
Materials:
LED lights (http://www.ebay.com/itm/261214745115?_trksid=p2059210.m2749.l2649&ssPageName=STRK:MEBIDX:IT)
you will not use all of these. well you can if you want but I found 8 to be plenty for me. I will be using the rest and some more in my bed tomorrow. another guide coming for that.
$15
Hood pin switch
There are a couple bucks from ebay or amazon.
Wire
Pretty much anything you want. I bought 20 ft total of wire from canadian tire (proud to be canadian!!!) 10ft black for ground and 10ft colored (whatever color you like) for positive
$15ish
Wire loom
Cheap online or also from cad tire
And whatever you wanna use to connect wires. Can solder if you want. Im lazy so i used heat shrinkable butt connectors. These are expensive in stores but cheap online. i bought 100 for around $30 on ebay. the alternative is buying 4 for $8 at canadian tire. and you need A LOT.
Alright so lets get started. First thing i did was mount all my lights. First i stuck them on with the double sided tape then i secured them with screws. please for the love of god be careful and make sure you dont screw through the top of your hood. you can place them wherever you like. Here is how i did mine.
I also mounted 2 of the modules on the 2 tabs at the bottom of the hood nearest to the middle of the engine. apparently I got so impatient i took the picture before I mounted them all. you will see later in the thread where they are mounted.
Next you will need to run your power and ground wires. Your ground will go to a hood pin switch installed by you. I have a power distribution block mounted on my core support so that's where my power came from but your will have to come from the little red power box near the alternator. sorry I didn't take a specific picture for the hood pin switch but you can see it near the bottom of the second picture below.
Power from my distribution block
Hood pin switch and running wires
I ran my wires in loom behind the headlights and up the side of the truck as you can see. to easily accomplish this I removed the headlight and battery. Run both your wires to this factory ground wire mounted between the truck and the hood. secure your LOOMED wires to this using zip ties or electrical tape. I used electrical tape because it looks cleaner IMO.
Next you will need to split both wires in 2. once again i used heat shrinkable butt connectors. tape it up and make it look clean please.
Alright. now you need to run wires between all your lights. be sure not to mix up your ground and power cause then you're in for a real treat when you set your truck on fire or ruin every possible ground. to avoid worrying about this you can put a fuse on your power wire. I'm lazy so I decided to be careful.
Sorry for the crappy pictures but its all I got. This is a bit tricky because you need to get the wires the correct lengths and not too short cause that's no fun. I used the heat shrinkable butt connectors again and loomed with 3/8" loom. The loom can then be mounted perfectly with 1/2" nylon cable clamps like these
Next I started running my wire up the other side of the hood from the other side of my t connection.
I found the best way to run the wires was to cut it longer than you need, loom it and then cut it to the correct size after the loom is secured to the hood. Here is one side of the t wired up.
Cant see it very well in the following picture but I removed one led from the truck to make it easier to crimp the wires.
Some finishing touches. securing everything and making sure everything is loomed and clean looking.
Let there be light!!!
That's basically all there is to it. Please forgive my awful indescriptive instructions but there are so many different ways you can do this depending on the supplies you use and how many lights you want to accomplish and their positions on the hood. Please don't be afraid to PM me if you have any questions or reply to this thread.
Last edited: