DIY Exhaust Thread-Dynomax Bullet

01ssreda4

Member
Joined
Dec 4, 2014
Messages
12
Reaction score
0
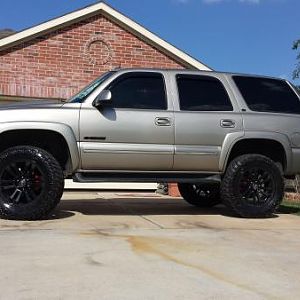
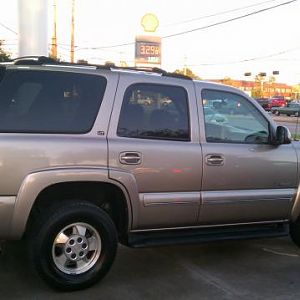
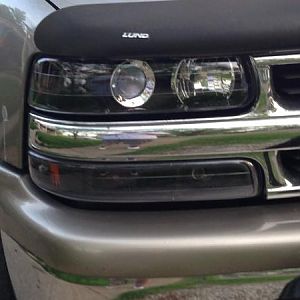
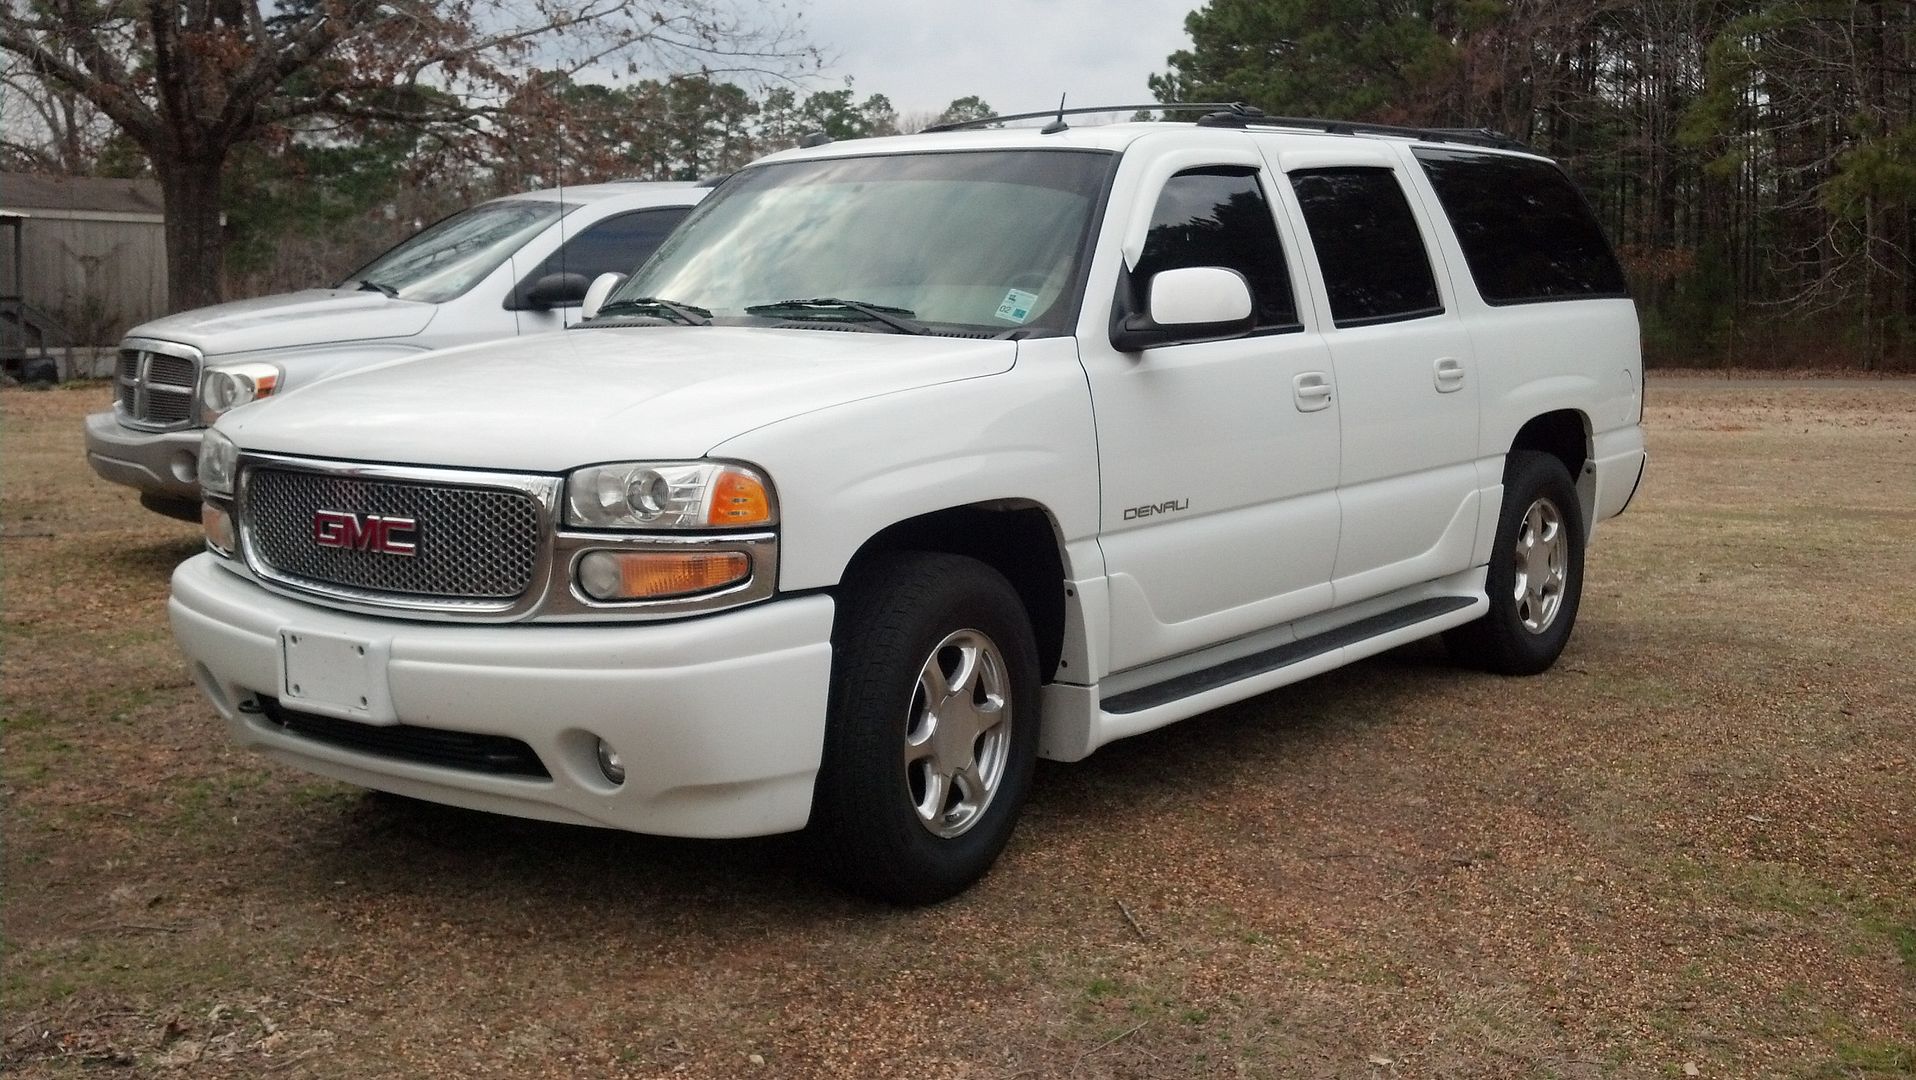
So I picked up this 2004 Yukon Denali about amonth ago. Here's some pics:


I really like the truck so far, but I been debating on doing an exhaust system on it. I decided to
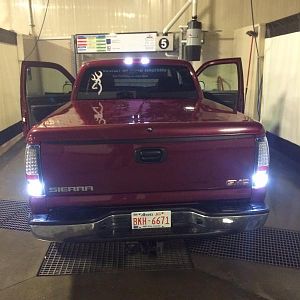
just go ahead and bite the bullet. As a back story, I helped a buddy who has a Sierra 2500 HD
setup a system with a Magnaflow bullet and it sounded good so I was leaning towards that route.
I have a Dodge already with a flowmaster and did not want both trucks to sound the same. I decided
to go with a bullet muffler and chose a Dynomax for a few reasons. 1. I've used their bullets
before in the past and they served me well. 2. After viewing multiple brands of bullet style mufflers
they all look identical, meaning they probably come off the same assembly line somewhere. 3. Cost
was cheaper for Dynomax over Magnaflow. With no logo'd box and holding both in your hands you would
not be able to tell the difference. For those wanting to go even cheaper, Summit carries their
brand of bullet and the only difference is it is a louvered core (think block cheese grater) where
the above mentioned are perforated core (think kitchen paasta strainer). I feel this is a negligible
difference in sound/performance but still a difference none the less. The reason I mentioned the
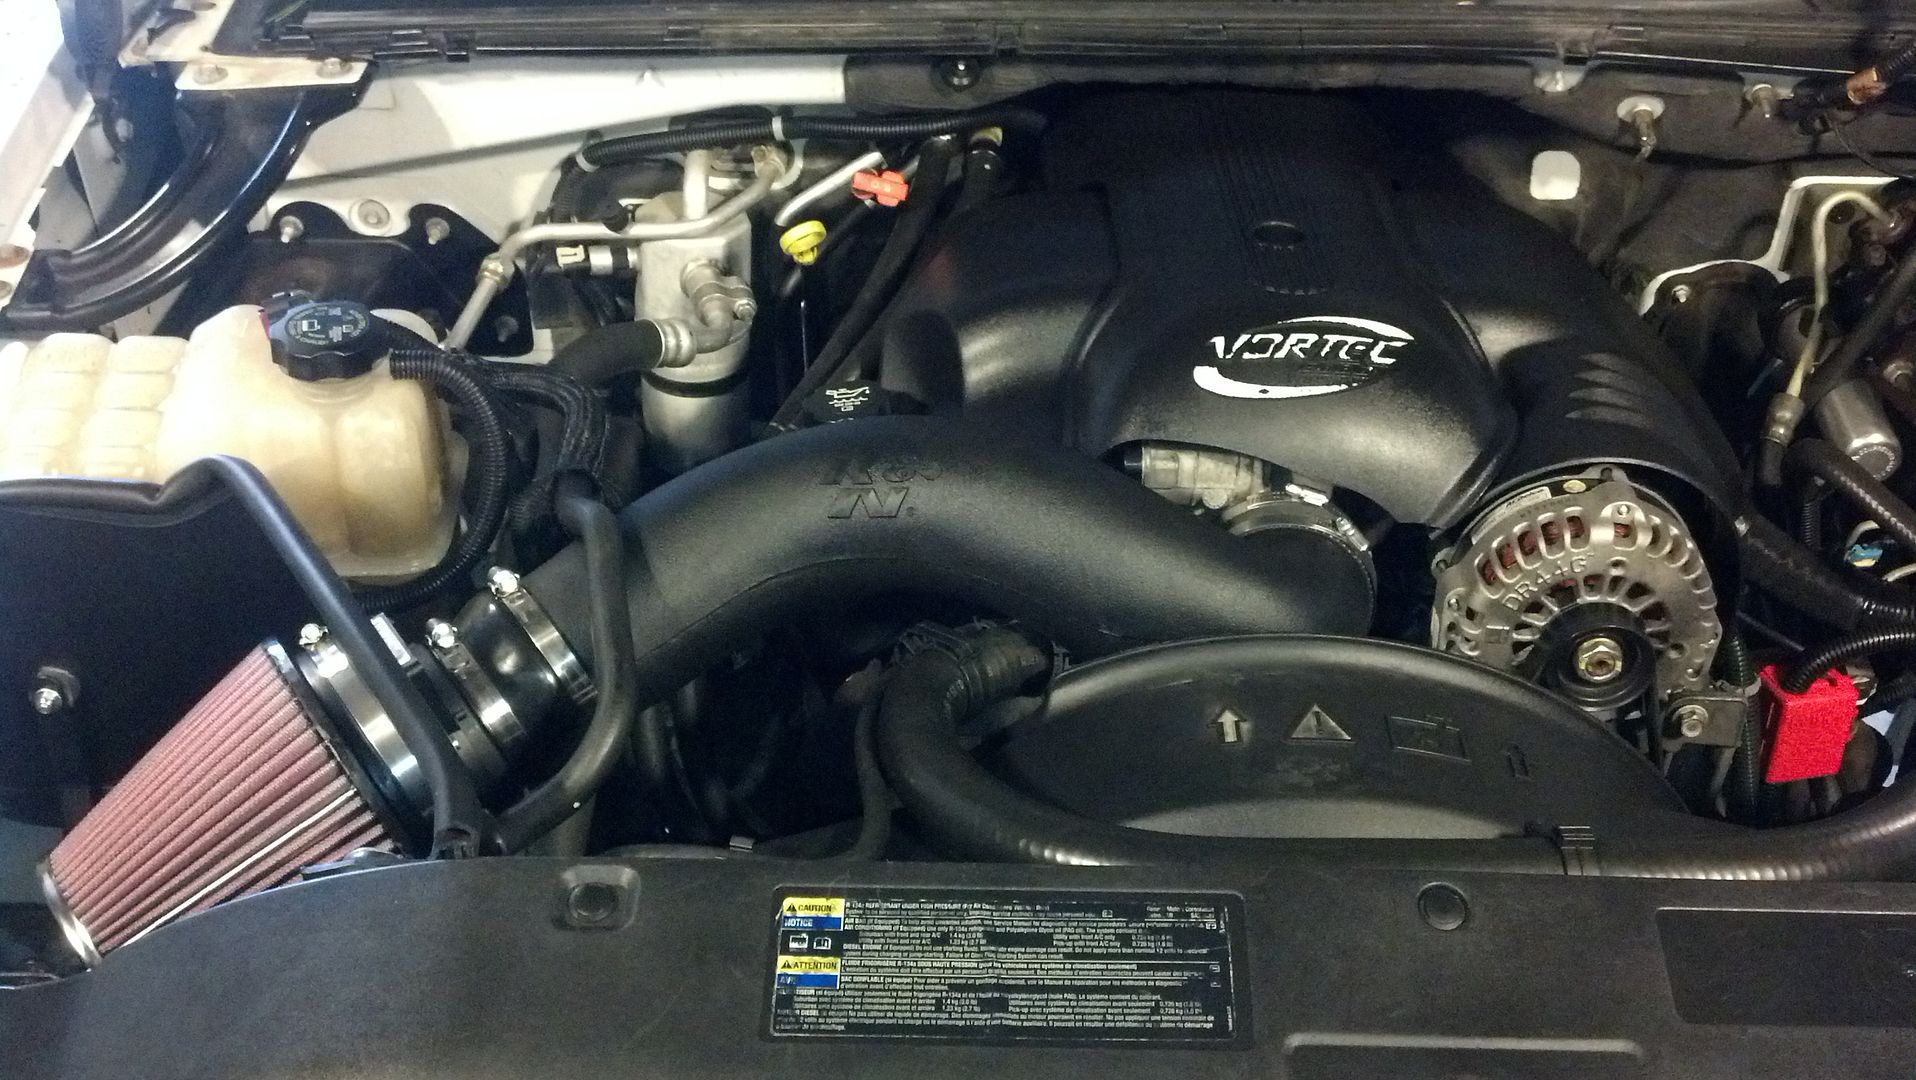
Sierra above is the engine is the same, a 6.0, and as it turns out the exhaust were identical once
you crawl under the truck. So, this applies to multiple vehicles on the longer chassis, I assume
Suburban, Yukon XL, and Sierra/Silverado (possibly only the HD models). So, the objective here is
to replace the stock muffler with a bullet......this will be slightly more difficult then a cutout
and replace but we'll get to that.

So the stock system consists of cast manifolds, two cats (one on each side), two disconnects approx.
under the passenger seat area, two pipes going into a muffler, two pipes coming out of the muffler,
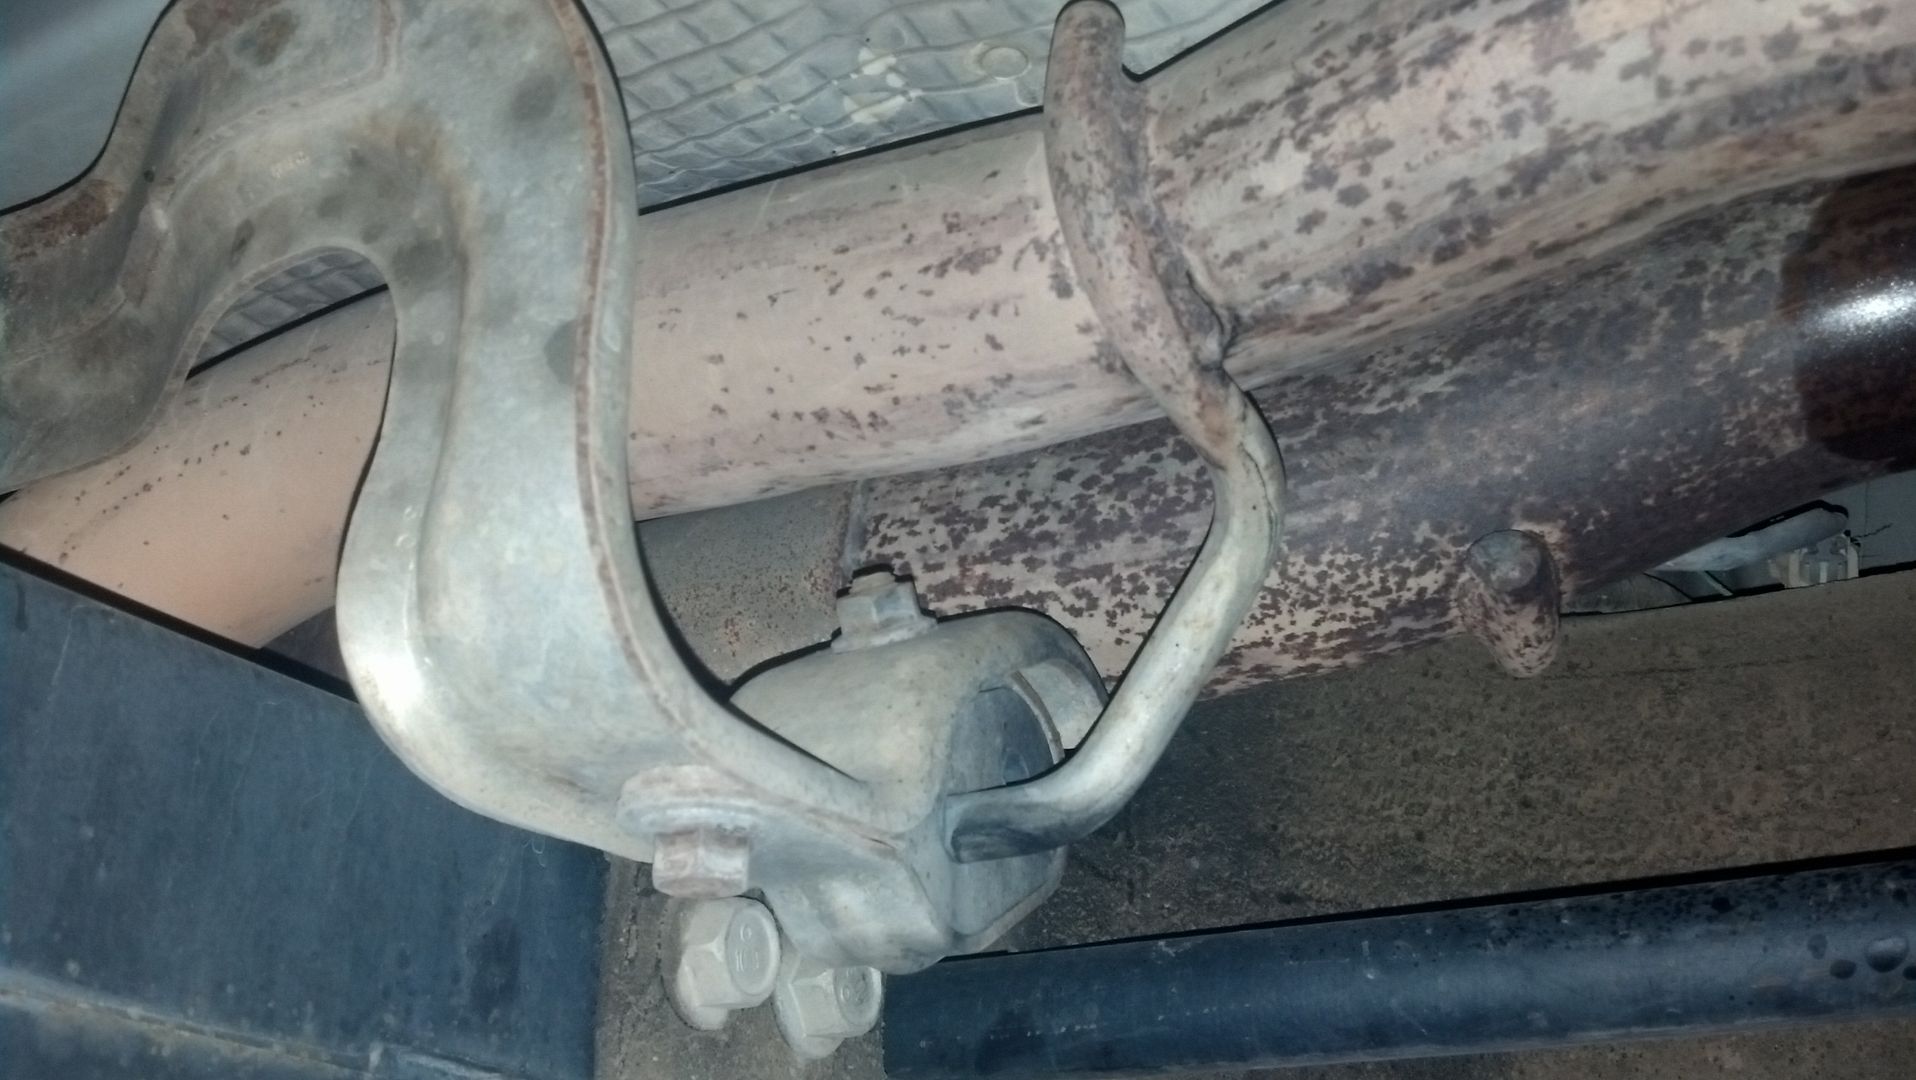
then into a Y pipe, and out to a single tailpipe and tip. Here is the stock setup:

Starting from the engine, this is where the two pipes meet and run side by side. This is directly
in front of the disconnect. So for discussion, this is the very beginning on the system as far as
we are concerned.


-------------------------------------------------------------
 

01ssreda4

Member
Joined
Dec 4, 2014
Messages
12
Reaction score
0
Just beyond that are the disconnects. Spray them with wd40 while you are poking around under there.
One is a ball and socket type connection with a flange on both sides. Two nuts disonnects this. The
other is a slip fit that has a clamp on it. One nut for this one and whouldn't ya know they faced
it up and put a tack weld on it. A 15mm ratcheting wrench works well here.


Just behind the disconnects there is a crossmember, here is a shot from the rear. There is a length
of straight pipe before we get to the actual muffler. You can see the stock clamp disconnect on
the very left.


Moving right along, there is a hanger just in front of the muffler. You'll need to remember this
as it becomes a very good reference point and a hanger we want to keep. Here she is:


Ok, here is the bathtub sized muffler. No wonder this 6.0 is so quiet. Notice the hanger behind the muffler,
we'll be using that in a bit also.


A shot of the back of the muffler, another shot of that rear hanger, and your first glimpse of the
stock merge. We will not be working past this point. This is the rear of the system for our discussion.
What's left is an over the axle pipe, then tailpipe and depending on model maybe you got a nice
pretty stainless tip (Yukon Denali's did).


-----------------------------------
 

01ssreda4

Member
Joined
Dec 4, 2014
Messages
12
Reaction score
0
Here's a tidbit, always nice to find these under the truck during your initial inspection.


First thing we have to do is get this pipe down to a manageable size and off the truck. There are
a few simple steps to make this happen. One, the hanger just to the rear of the muffler should
be cut off the pipe. We want to salvage it, so cut just up from the weld. You will still have
enough rod left to weld it to your new setup. Here's how you would cut it: Keep as much of the rod
as possible.


Also, notice above our rear is cut. We need to make one cut with a sawzall just after the stock
Y merge. You need a single rear tailpipe connection so you'll cut as far up to the Y merge as possible.
Here is is cut. It will gape open because the weight and unbalance of the tailpipe will make it move
around. From there back there is only one hanger.


The one hanger in front of the muffler needs to be pried off, then take care of your disconnects and
slide the whole assembly to the rear. When it gets on the ground, it should look like this:


This is a general idea of what we are going to end up with. The Magnaflow Y pipe will pull us down to one outlet,
then we will go into our muffler then out to our stock tailpipe. Because the stock Y merge was actually on the
upward slant going over the rear end, we will need to get an upward bend after the muffler. So here they are in
comparison.


------------------------------------------
 

01ssreda4

Member
Joined
Dec 4, 2014
Messages
12
Reaction score
0
Total length of the stock assembly we removed:


Total length of our new Y merge and muffler, directly connected to each other:


Factoring in a little bit of room at the backend for our bend, we want to subtract these two figures, and
cut the stock pipe somewhere in that vicinty. Well, this ends up working out well because it is just behind
our front hanger. Which means it serves as a good marker for reference, and we will end up reusing it exactly
as the factory intended. The Xs mark where I'm going to cut, its an estimate and we will make up our distance
on the rear side.


Now, before you make your cut, you will want to affix your twin pipes together. The reason is the muffler is
the only thing holding their correct orientation. Once you remove it, they will fall apart. By affixing them
together ahead of time, they will reinstall exact as they were designed to stock. Here I've inserted some
scrap metal pieces along the center of the two pipes. After my cut, they stay put.


This next step is where you will need your welder. The stock pipes are approx 2 3/4". The Y merge is 3 in, 3 out.
You need to adapt these. What I did for simplicity was make small lengthwise cuts (about 1 inch) around the
perimeter of the larger two pipes, then hammered them down around the stock pipe. This is a very quick and
effective way to adapt the two sizes and will reduce the gap between the pipes to a manageable level that you
can fill in with a MIG welder. So after you've done that, you should have this....I left the stock muffler there
so you can get a visual comparison.


-------------------------
 

01ssreda4

Member
Joined
Dec 4, 2014
Messages
12
Reaction score
0
The only thing you are left with at this point is to reinstall, and you will mate your muffler exit to your tailpipe
inlet which mine was approx 14 inches away from each other. I would recommend a mandrel bent 90 degree. If you
make your cut very carefully, it will basically bolt the two together, no rear side welding needed. I designed
my system with two clamps for ease of remove shall I ever decide to change mufflers. You can hard weld one end
and only use one clamp if you wish or like stock and have no clamps. Its all up to the installer. You could also ditch the tailpipe and run a dump straight off the end if you wanted as well. Here is my final up bend that is replacing where the stock bend/Y merge was and my two clamps. Notice my adapter is on the upper pipe, and that's what my lap joint clamp is gripping.


Here is a short idle clip. Driving impressions are, it is pretty quiet at cruise, mildly loud under throttle,
no drone inside the cab, no additional rattles. Overall this parts list cost me about $100 shipped to my door
from Summit, and I will list my part numbers.

[ame]http://www.youtube.com/watch?v=1DldKjtbKKU&list=UUit-GjBLdVELa43G3_cw73w[/ame]

WLK-24219-Dynomax
Muffler, Race Bullet, 3 in. Inlet/3 in. Outlet, Steel, Aluminized, Each
(Mfr. #: 24219)

MPE-10798-Magnaflow
Exhaust Pipe, Y-Pipe, Stainless Steel, Dual Inlet 3 in., 3 in. Single Outlet, 10 in. Long, Each
(Mfr. #: 10798)

SUM-692300-Summit Brand
Exhaust Clamp, Band-Style, Lap Joint, Stainless Steel, 3.00 in. Diameter, Each
(Mfr. #: SUM-692300)

SUM-693300
Exhaust Clamp, Band-Style, Butt Joint, Stainless Steel, 3.00 in. Diameter, Each
(Mfr. #: SUM-693300)

SUM-652277
Exhaust Pipe Adapter, Steel, Aluminized, 3.00 in. Inlet I.D., 3.00 in. Outlet O.D., 6.00 in. Length, Each
(Mfr. #: SUM-652277)

Questions/Comments?
 

2003tahoe

Well-Known Member
Joined
May 2, 2014
Messages
499
Reaction score
1
Location
Houston, Texas
nice job i love my glasspack on my 5.3 it sounds like a muscle car when i zoom by people i need to find the clip my friend had
 

Members online

No members online now.
Top