sewlow
Well-Known Member
News flash!
Sorry guys, but I don't own a GMT800! I have 2 GMT400's. Been pretty active for the last three years on GMT400.com.
I joined this forum so that I could offer advice & any tech help that anyone would need involving my area of expertise.
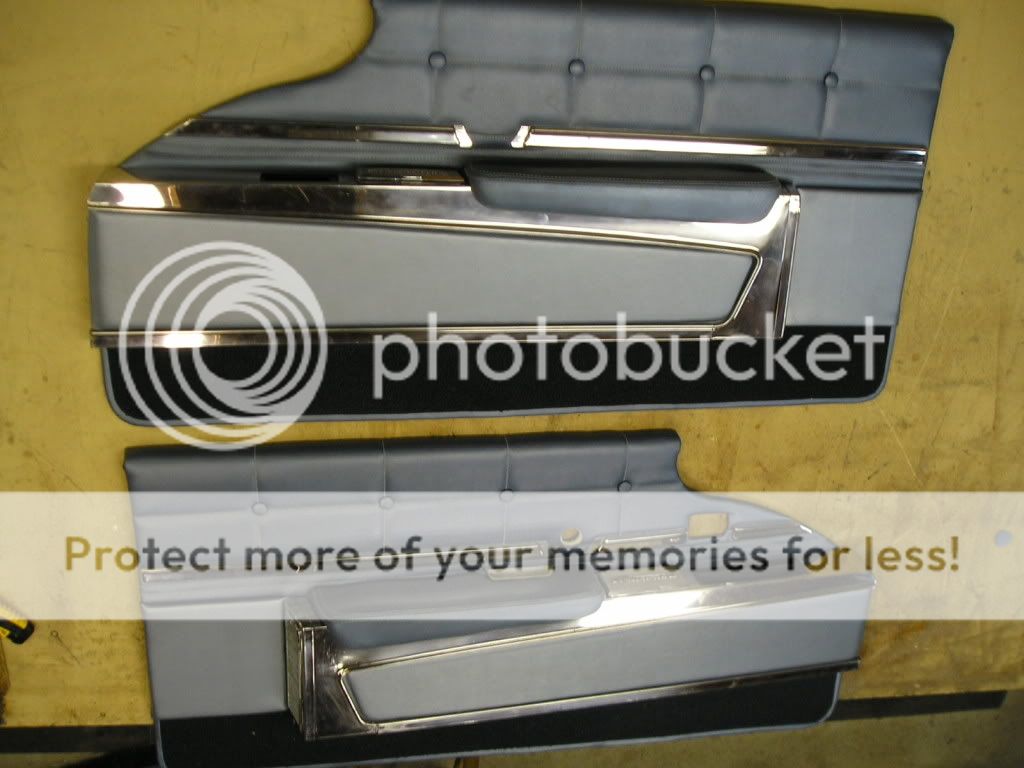
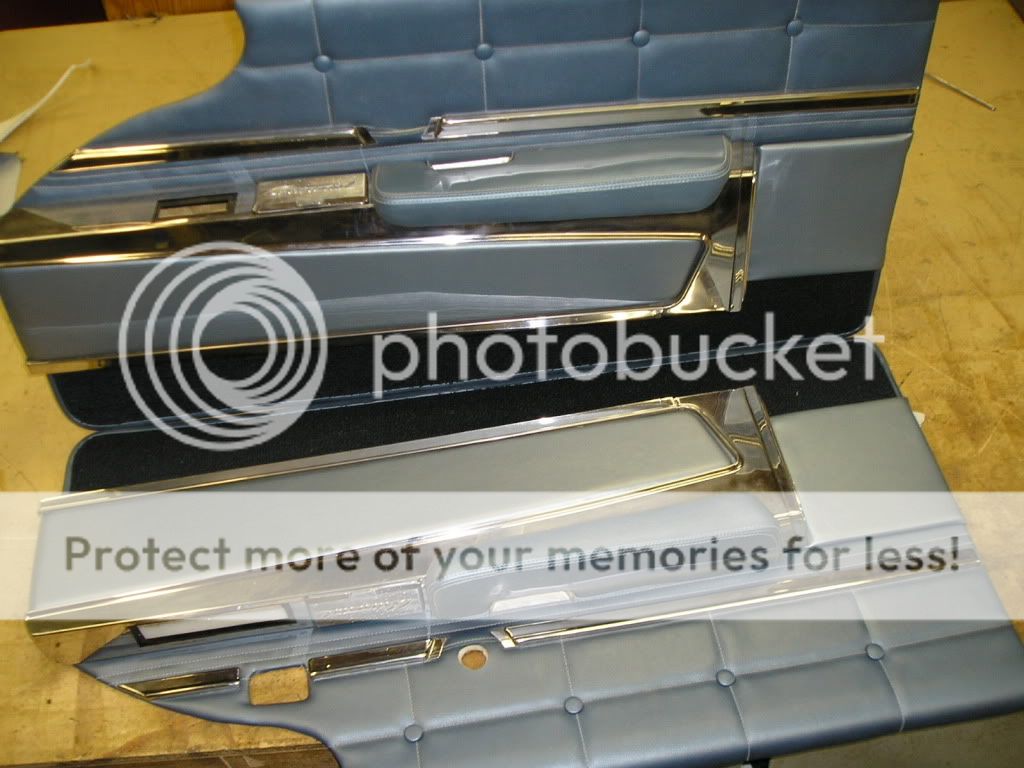
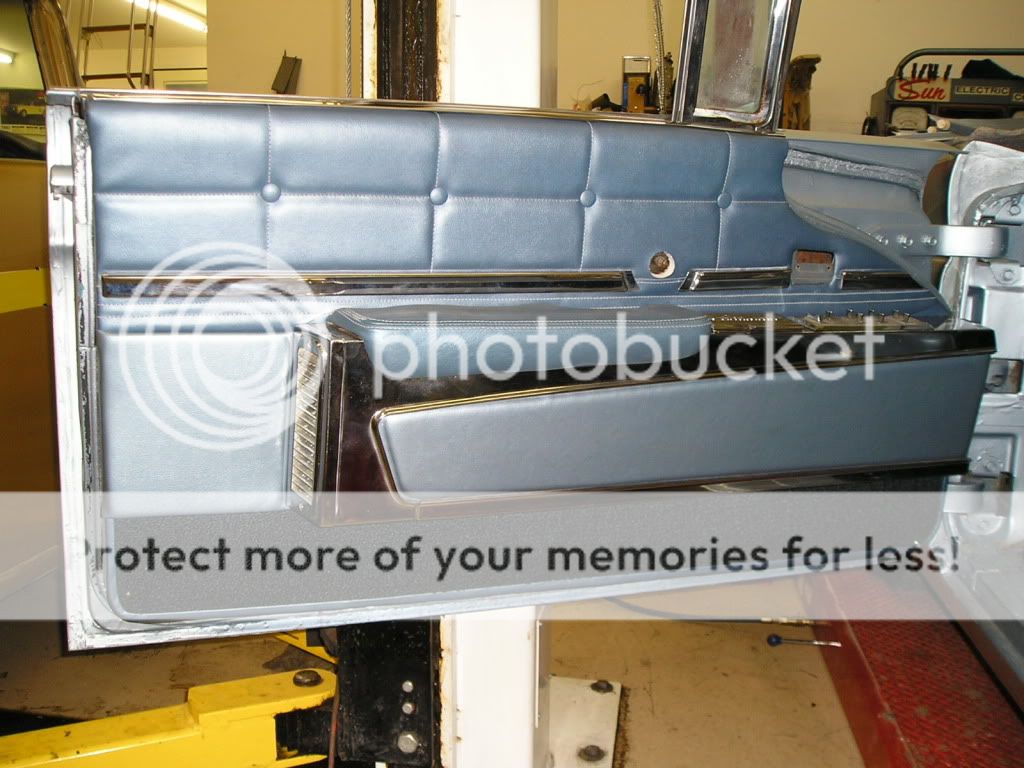
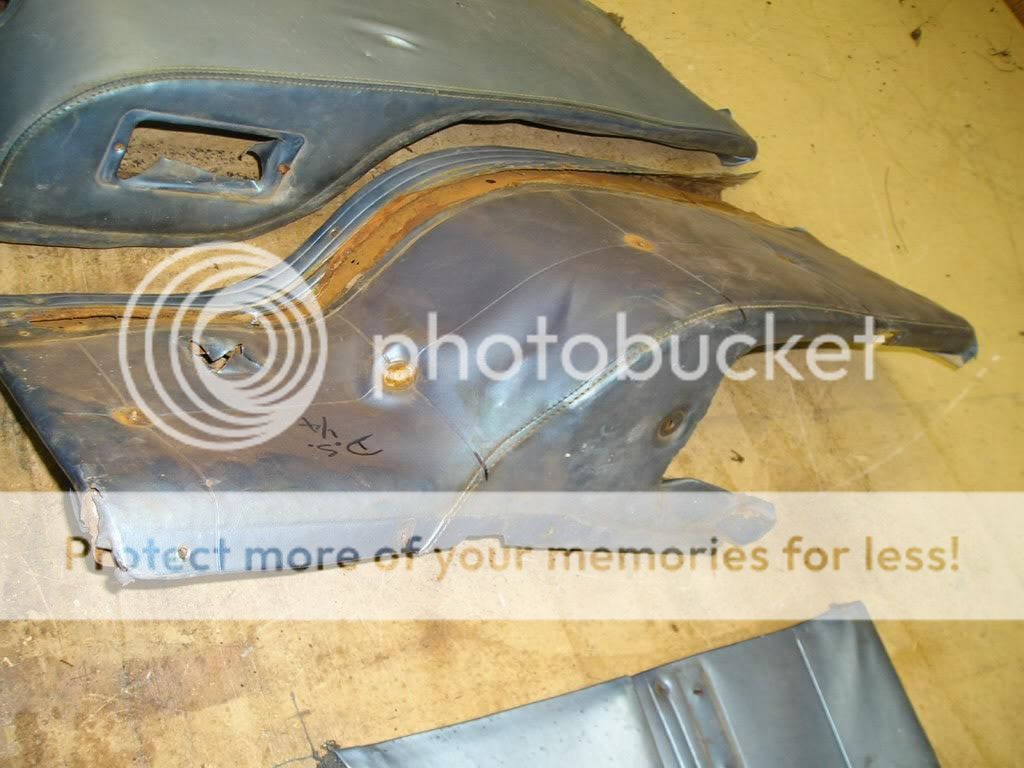
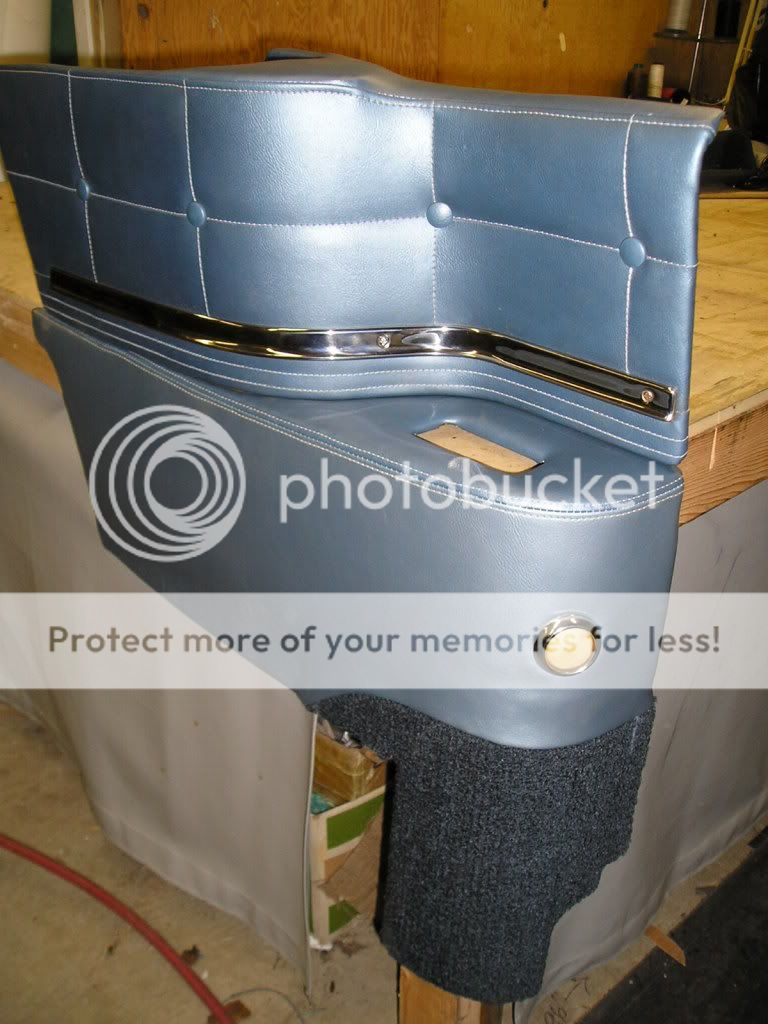
I do upholstery.
I also have a Bachelor's degree in Education, plus I'm a ticketed A.M.E. (Aircraft Mechanical Engineer, under Federal Aviation Regulation's 27.853, with endorsements for various aircraft under that section of the F.A.R.'s)
Strange as it seems, I don't have a build thread over there on either of my trucks!
I bought & started the mods on my '98 before GMT400.com even existed. I've had that truck coming up to 9 years. At the time, recording the mods wasn't a priority. I took the truck in the direction I did simply for my own enjoyment. I figured that the finished project would stand on it's own merits. The truck has gone through various stages since I've owned it. It's still far from being done. More stuff is gonna be happening to it soon enough, in the form of an LS 6.0/4L80e w/EFILive swap. The V6 decided to puke out the intake manifold gaskets after 375,000km.'s, & I didn't catch it in time. Damn Vortec's! I'm gonna re-do the interior, too! Those builds I will record over there.
The '97 has no build thread. It will. I've just been lazy on that!
My personal projects tend to be slow builds. Why? It's a time management thing. I'm self-employed, & I do a lot of work on other people's projects. Sometimes I just don't have the time or the initiative to go work on my vehicles after working long stupid hours on someone else's. So, the only time that has been spent on the '97 has been maintenance. It's my DD. Got some ideas for some mods, but they'll have to wait a bit.
The '98 has been sitting for a few years with a dead 4.3. The LS swap is gonna be such a big difference! From maybe 150hp to a butt-clenching 400hp+! Giddyup!
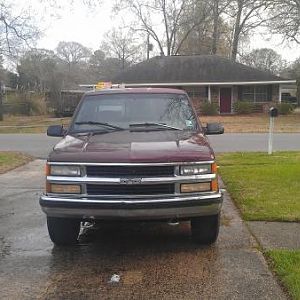
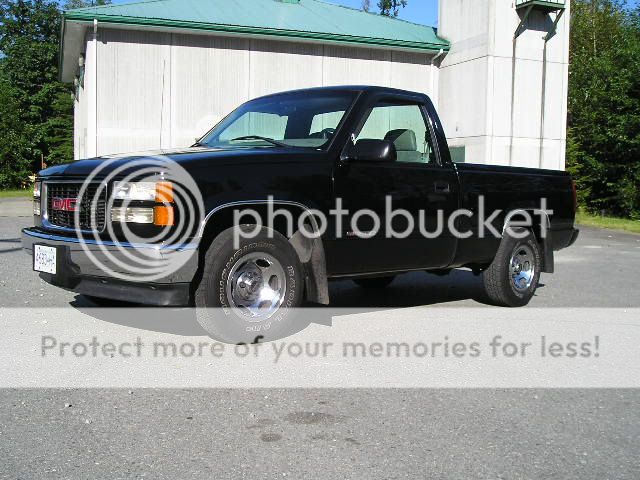
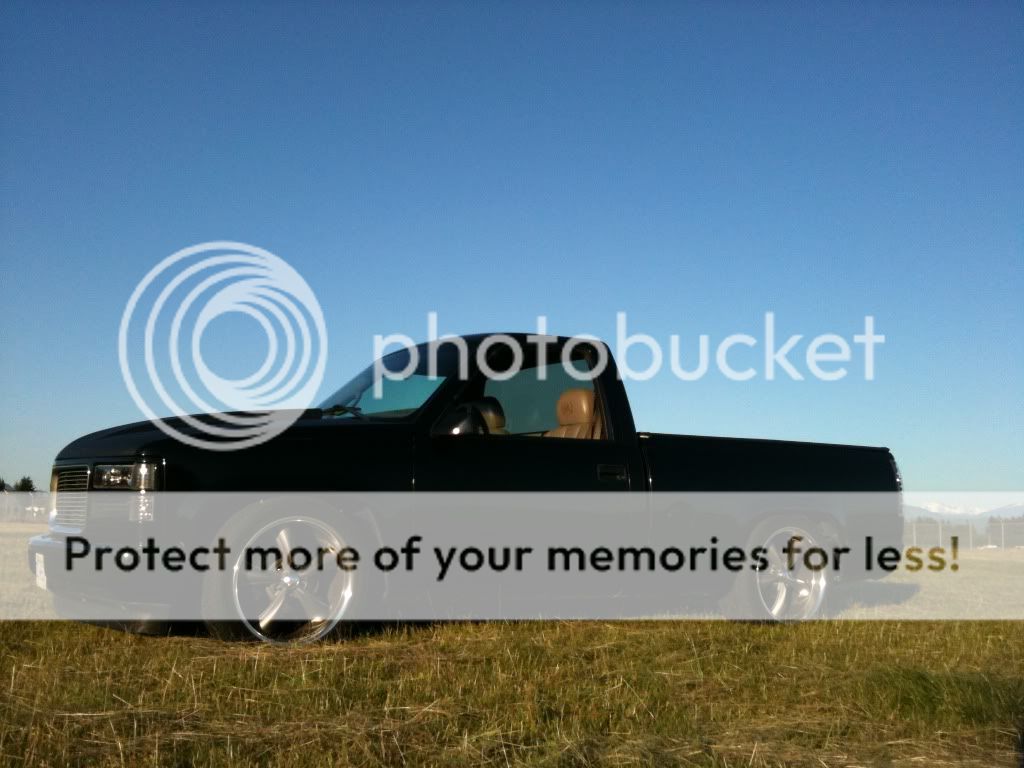
My '98.
4.3 (Dead!) 4L60e.
4/7 drop. Custom frame notch, boxed frame, relocated rear upper shock mounts, Belltech Street Performer shocks. 3.73 10b w/eaton posi.
Full urethane body & bushing kit. Aftermarket rear sway bar with custom mounts.
20x8.5, & 20x10 Boss 338's. 245/45 & 295/40's.
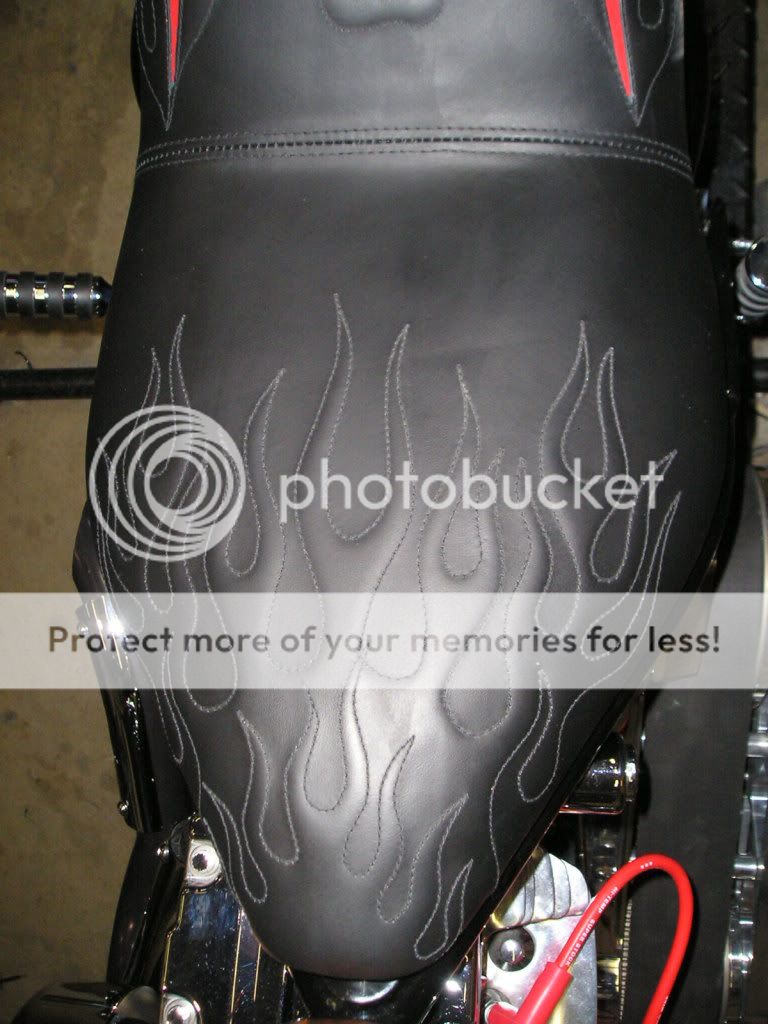
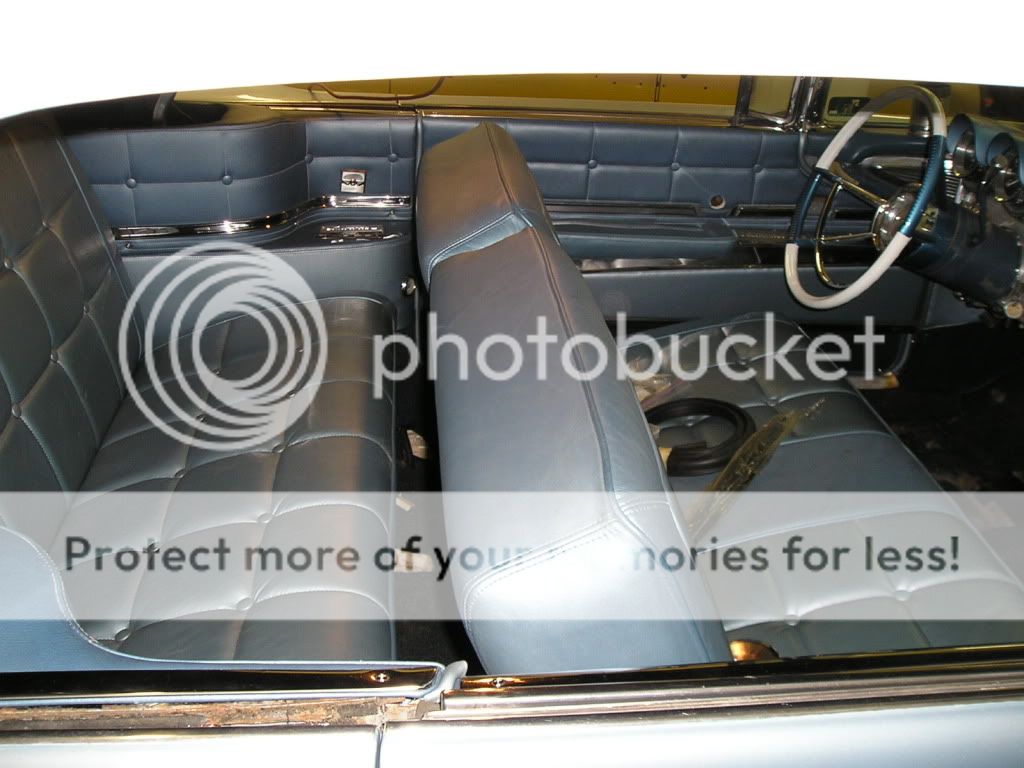
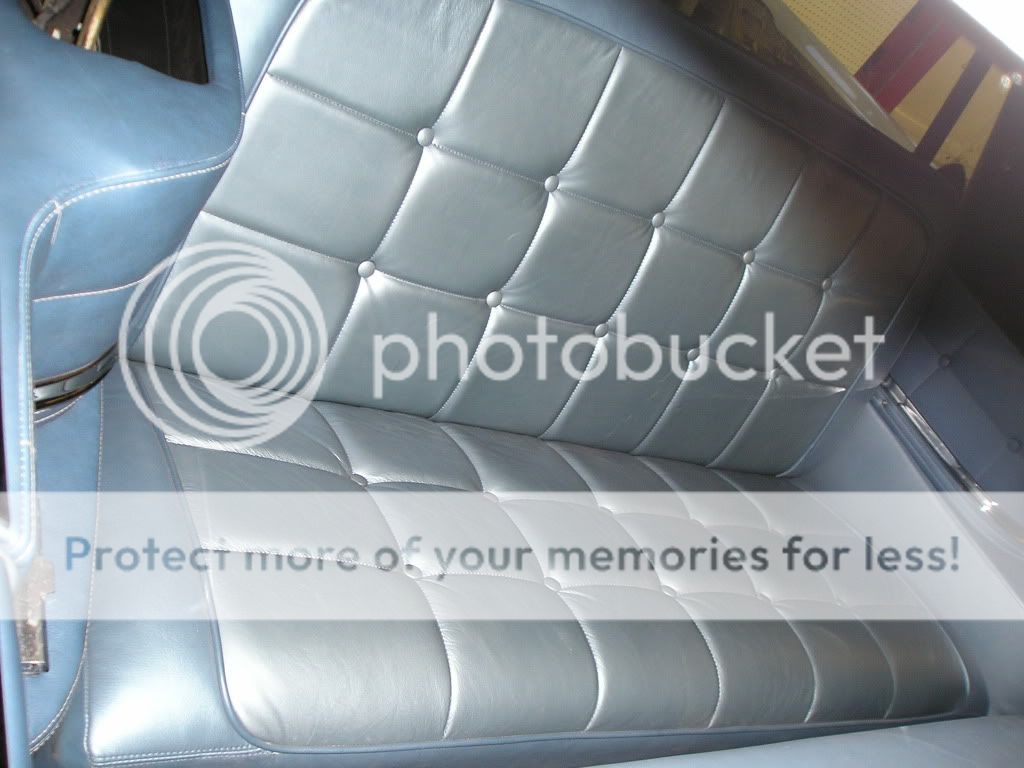
Custom Escalade seats, center & overhead consoles. 1200w Alpine stereo. (I'll get to that interior in a bit!)
Steel cowl hood & rollpan. Frenched L.plate front bumper. Street scene mirrors. (In the second pic, it has 454SS mirrors. Useless POS's!)
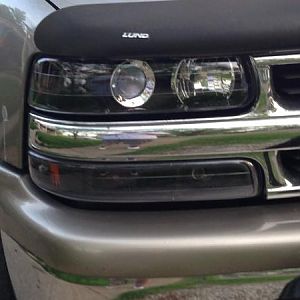
Coming soon...all new headlights, bumper & tail lights, complete interior re-do, body & paint work. (Still black, but in a 70* gloss. Think...Bumper black.)
I also have in my parts pile a rear disc system from a '95 Impala SS, which will be joined up with an SSBC big brake front kit, & Hydro-boost.
And (and!!!) the LS!
By the time it's done, the only original body panels will be the cab!
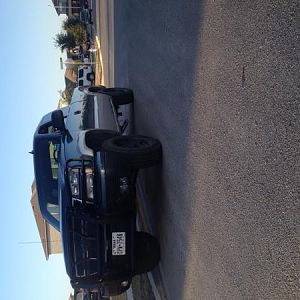
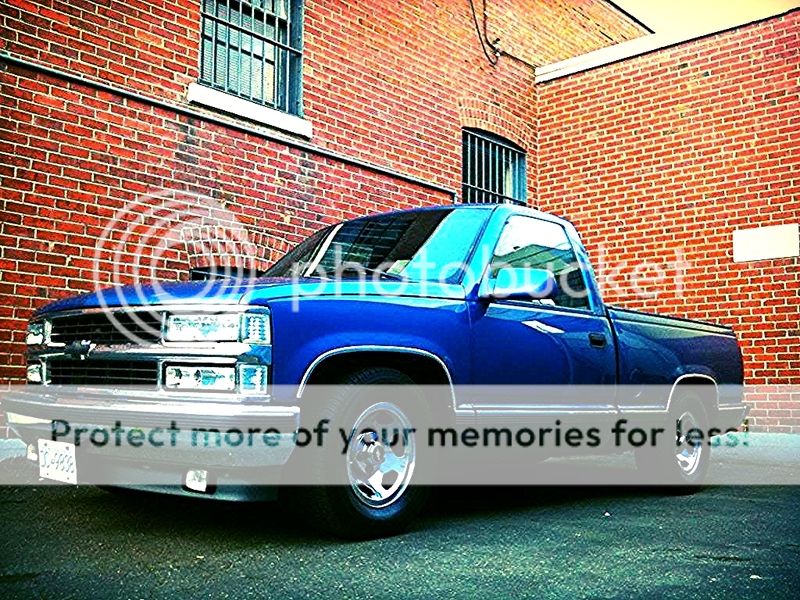
The day I got it.
As it sits, now.
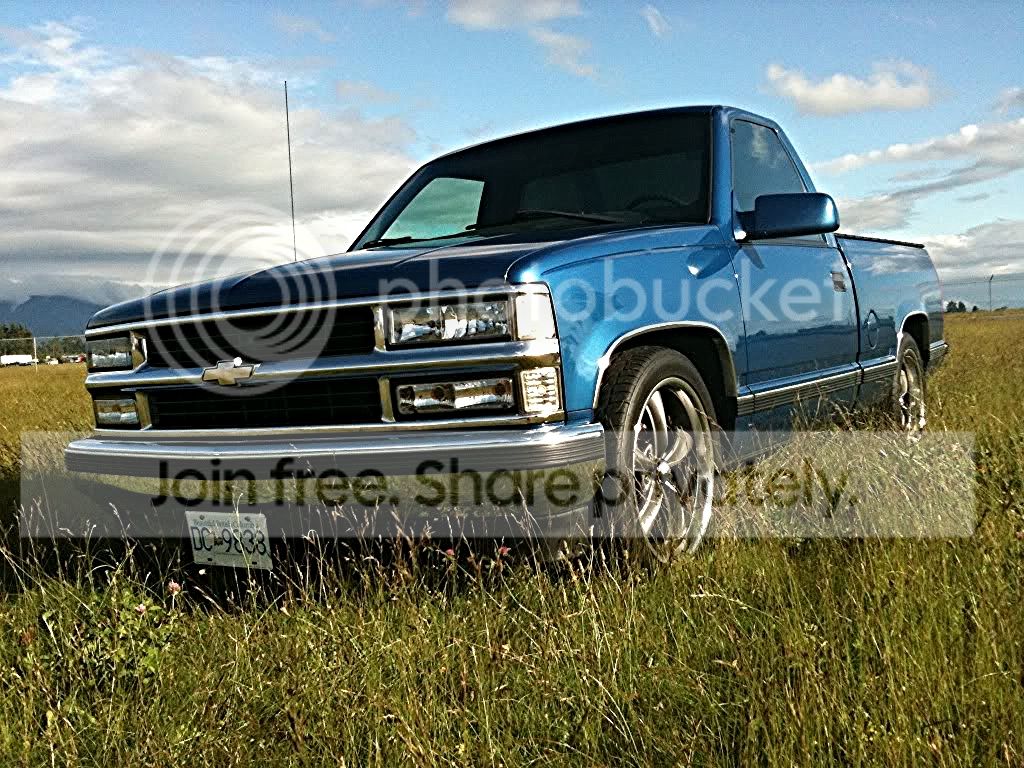
My '97. The DD.
One year only color. Medium Bright Blue Metallic. Factory color matched mirrors.
4.3, NV3500 w/Hurst Comp.+ shifter (one of the best mods yet!)
'90/'91 bench with the flip down armrest.
2/4 drop. (I'll never do another one of those!) Doestch shocks (Poop! I'll get some of the Belltech's on it sooner or later.)
Rear sway bar from an Escalade. Has about 1/2 of a full urethane bushing kit installed.
NOS SS fogs & valance. Modded factory L.plate bracket.
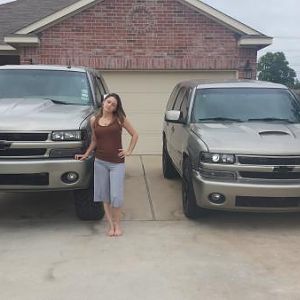
In these pix, it's wearing the Boss wheels, 'cause I've been having a hard time getting 15" tires in the size & brand I want.
Perimeter security device.
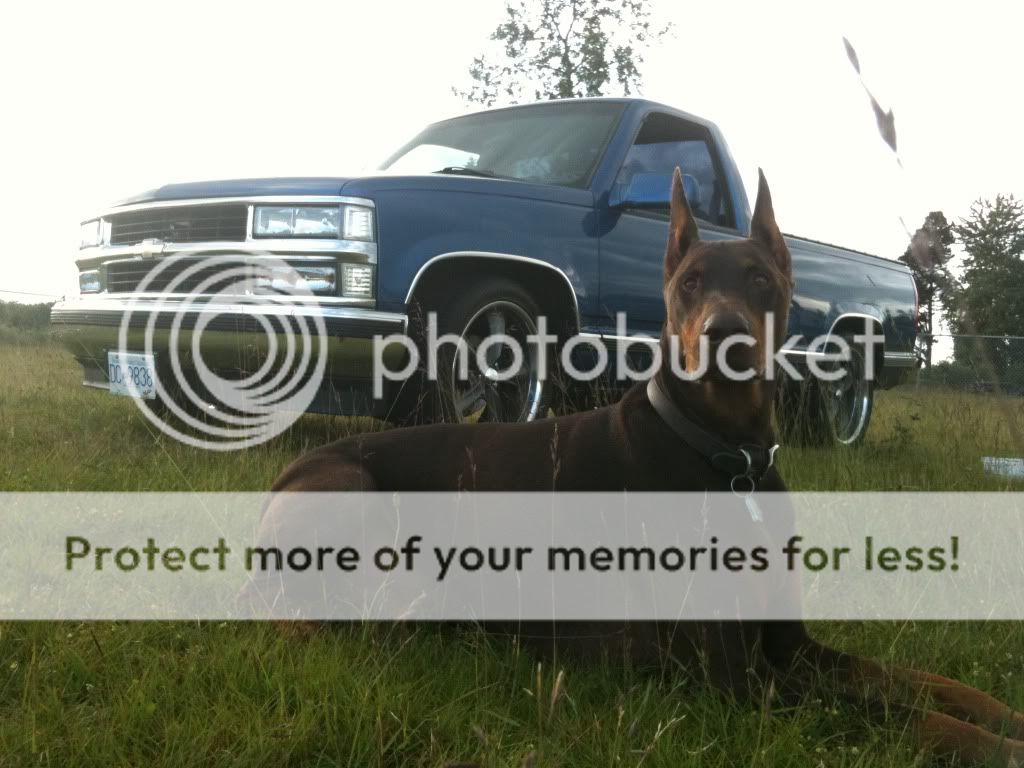

The wheels it normally wears.
Seems I've run outa room for one post. Give me a bit & I'll get to the real purpose of this thread posted up.
Sorry guys, but I don't own a GMT800! I have 2 GMT400's. Been pretty active for the last three years on GMT400.com.
I joined this forum so that I could offer advice & any tech help that anyone would need involving my area of expertise.
I do upholstery.
I also have a Bachelor's degree in Education, plus I'm a ticketed A.M.E. (Aircraft Mechanical Engineer, under Federal Aviation Regulation's 27.853, with endorsements for various aircraft under that section of the F.A.R.'s)
Strange as it seems, I don't have a build thread over there on either of my trucks!
I bought & started the mods on my '98 before GMT400.com even existed. I've had that truck coming up to 9 years. At the time, recording the mods wasn't a priority. I took the truck in the direction I did simply for my own enjoyment. I figured that the finished project would stand on it's own merits. The truck has gone through various stages since I've owned it. It's still far from being done. More stuff is gonna be happening to it soon enough, in the form of an LS 6.0/4L80e w/EFILive swap. The V6 decided to puke out the intake manifold gaskets after 375,000km.'s, & I didn't catch it in time. Damn Vortec's! I'm gonna re-do the interior, too! Those builds I will record over there.
The '97 has no build thread. It will. I've just been lazy on that!
My personal projects tend to be slow builds. Why? It's a time management thing. I'm self-employed, & I do a lot of work on other people's projects. Sometimes I just don't have the time or the initiative to go work on my vehicles after working long stupid hours on someone else's. So, the only time that has been spent on the '97 has been maintenance. It's my DD. Got some ideas for some mods, but they'll have to wait a bit.
The '98 has been sitting for a few years with a dead 4.3. The LS swap is gonna be such a big difference! From maybe 150hp to a butt-clenching 400hp+! Giddyup!
My '98.
4.3 (Dead!) 4L60e.
4/7 drop. Custom frame notch, boxed frame, relocated rear upper shock mounts, Belltech Street Performer shocks. 3.73 10b w/eaton posi.
Full urethane body & bushing kit. Aftermarket rear sway bar with custom mounts.
20x8.5, & 20x10 Boss 338's. 245/45 & 295/40's.
Custom Escalade seats, center & overhead consoles. 1200w Alpine stereo. (I'll get to that interior in a bit!)
Steel cowl hood & rollpan. Frenched L.plate front bumper. Street scene mirrors. (In the second pic, it has 454SS mirrors. Useless POS's!)
Coming soon...all new headlights, bumper & tail lights, complete interior re-do, body & paint work. (Still black, but in a 70* gloss. Think...Bumper black.)
I also have in my parts pile a rear disc system from a '95 Impala SS, which will be joined up with an SSBC big brake front kit, & Hydro-boost.
And (and!!!) the LS!
By the time it's done, the only original body panels will be the cab!
The day I got it.

As it sits, now.

My '97. The DD.
One year only color. Medium Bright Blue Metallic. Factory color matched mirrors.
4.3, NV3500 w/Hurst Comp.+ shifter (one of the best mods yet!)
'90/'91 bench with the flip down armrest.
2/4 drop. (I'll never do another one of those!) Doestch shocks (Poop! I'll get some of the Belltech's on it sooner or later.)
Rear sway bar from an Escalade. Has about 1/2 of a full urethane bushing kit installed.
NOS SS fogs & valance. Modded factory L.plate bracket.
In these pix, it's wearing the Boss wheels, 'cause I've been having a hard time getting 15" tires in the size & brand I want.

Perimeter security device.


The wheels it normally wears.

Seems I've run outa room for one post. Give me a bit & I'll get to the real purpose of this thread posted up.
Last edited:


") Very nice and clean :waytogo:
Very nice and clean :waytogo: