yukonxxl
Member
Hi guys. So if you have ever had to work on your truck at night you know having more light is always better. well, I've got a great solution to the engine bay light on your truck. first you are going to need some parts.
Parts
-Led lights. ~$9

-18 gauge wire or less. $15
(I used 18/2 outdoor light wire from home depot. but you can use speaker wire as well.)
- #8 1/2" pan head screws $4
-electrical tape
Tools
-solder gun
-flat head screwdriver
-wire strippers
-drill with drill bit
-metal coat hanger or fish tape
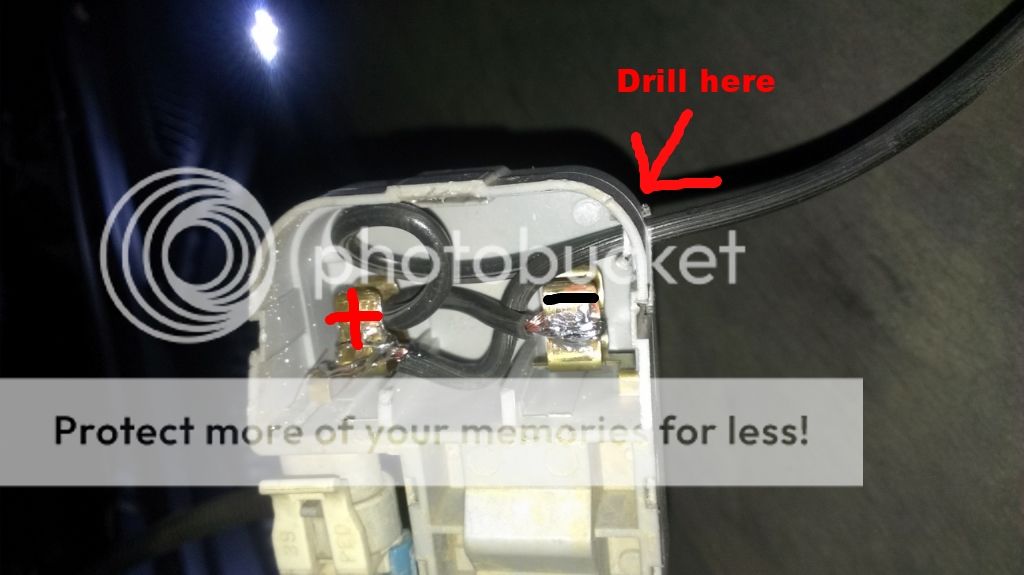
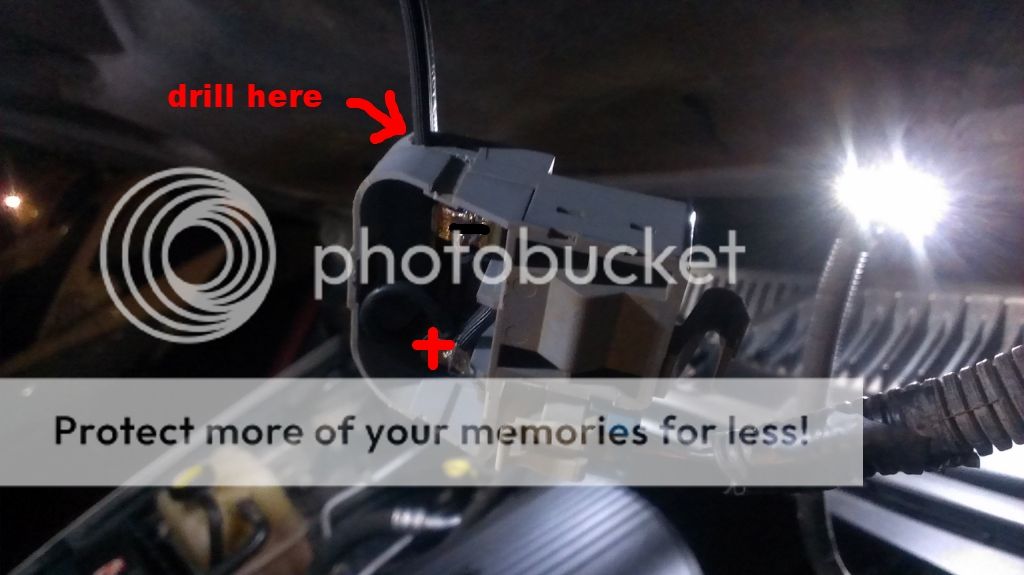
OK so the first step is taking the under hood light apart. You are going to use the flat head screw driver to pop out the clear lens. Then you are going to remove the bulb. once you have done this you will drill the hole on the side of the plastic frame. slide the wire through and solder the wire to the terminals. (you will need to get it pretty hot because they have a coating on them) make sure you keep the + wire the same throughout the entire install. This is very important!!
Now that you have your wire connected you can start routing the wire under the hood liner. This is where you will use the coat hanger or fish tape. Make sure you unplug the light or else the wires will be live!!!

now solder your light connections. Make sure your + stays + ,and your - stays - if they ever change the lights will not work. Tape up your connections. When I did my install i would run the wire, then attach the light, then run the next wire. You can do it in any order you want just make sure that your connections are well insulated.

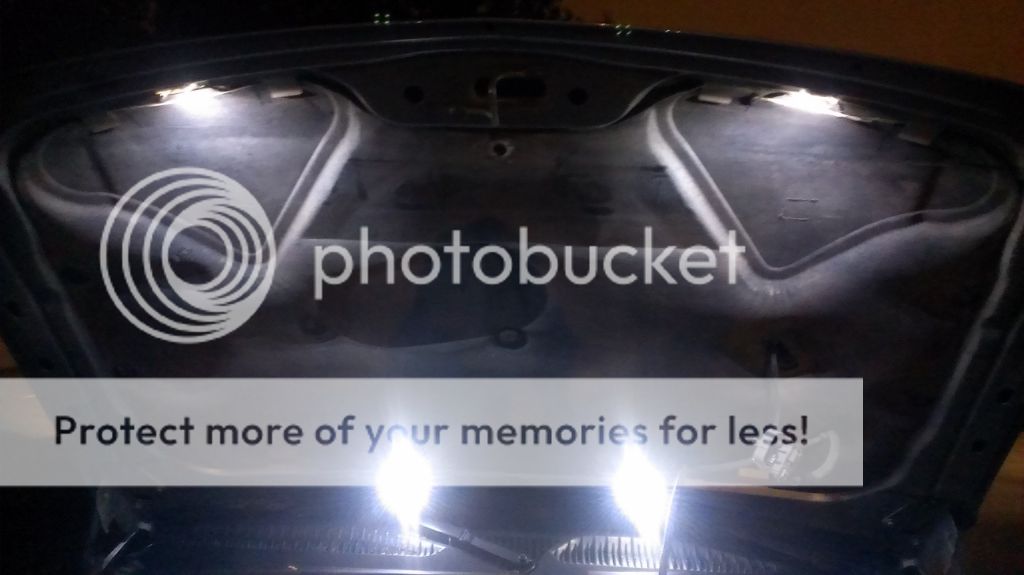
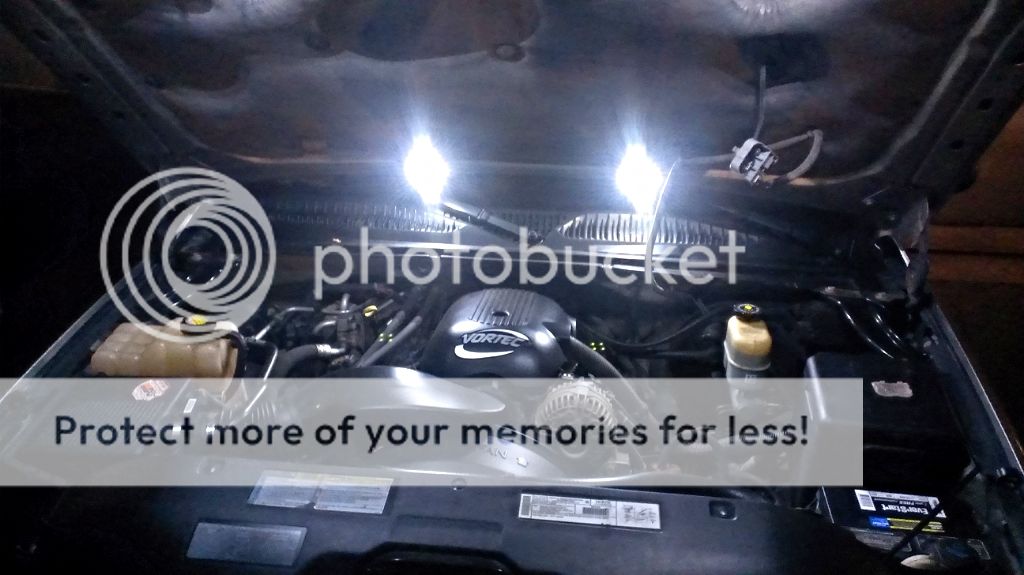
When mounting the lights use the double sided tape provided on the lights to stick in place. After they are in place screw down one side to prevent them from ever falling off. (be careful not to break the light by going too tight)
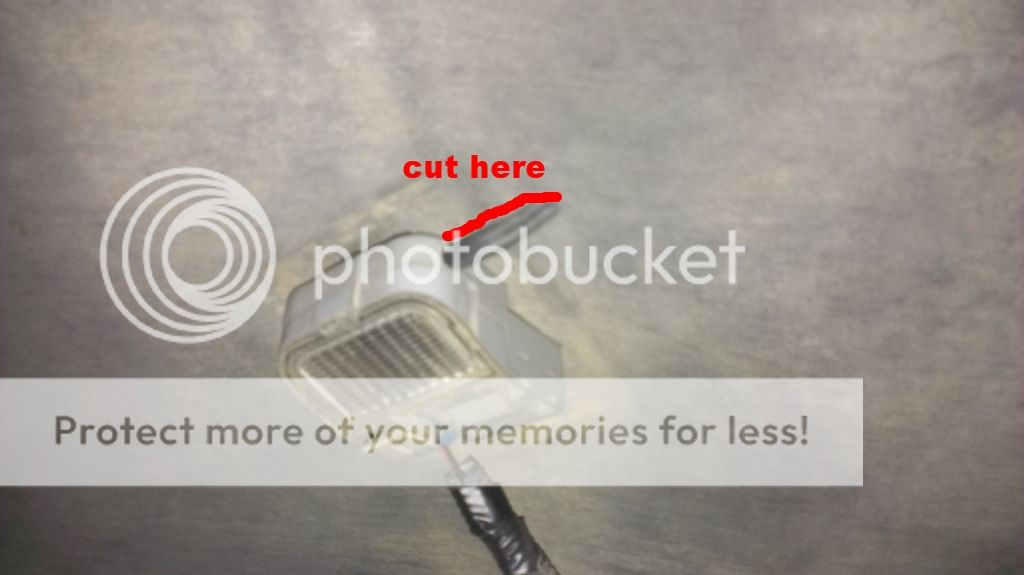
After you are done with all the lights you can connect the plug back into the light and mount it back in place. you may need to cut the liner so the wire goes to the side of the light.
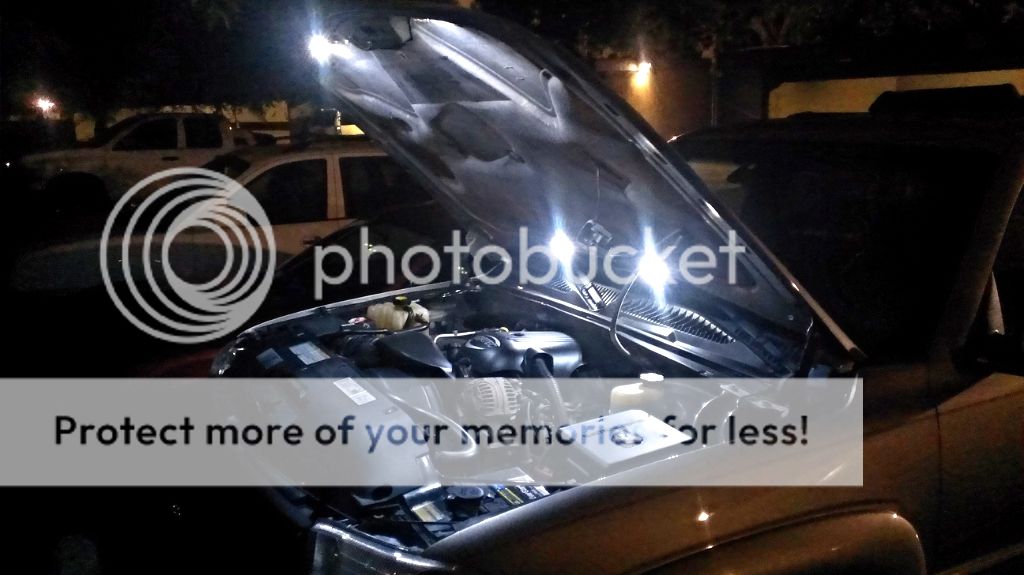
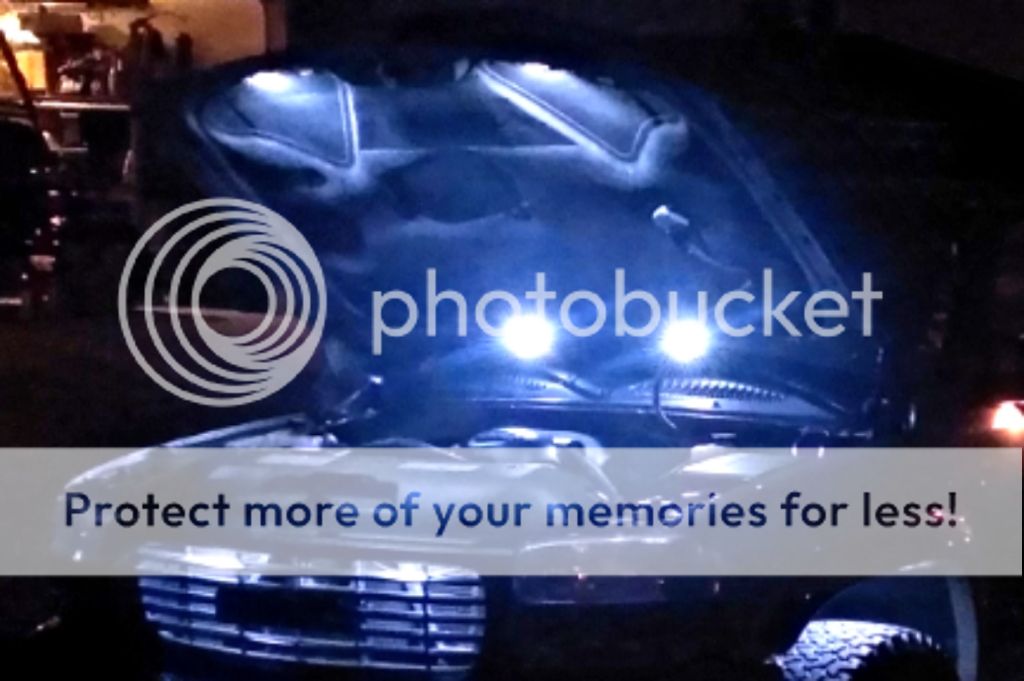
now enjoy never having to dig for a flashlight when you need to see inside your engine bay at night.
Parts
-Led lights. ~$9
-18 gauge wire or less. $15
(I used 18/2 outdoor light wire from home depot. but you can use speaker wire as well.)
- #8 1/2" pan head screws $4
-electrical tape
Tools
-solder gun
-flat head screwdriver
-wire strippers
-drill with drill bit
-metal coat hanger or fish tape
OK so the first step is taking the under hood light apart. You are going to use the flat head screw driver to pop out the clear lens. Then you are going to remove the bulb. once you have done this you will drill the hole on the side of the plastic frame. slide the wire through and solder the wire to the terminals. (you will need to get it pretty hot because they have a coating on them) make sure you keep the + wire the same throughout the entire install. This is very important!!
Now that you have your wire connected you can start routing the wire under the hood liner. This is where you will use the coat hanger or fish tape. Make sure you unplug the light or else the wires will be live!!!
now solder your light connections. Make sure your + stays + ,and your - stays - if they ever change the lights will not work. Tape up your connections. When I did my install i would run the wire, then attach the light, then run the next wire. You can do it in any order you want just make sure that your connections are well insulated.
When mounting the lights use the double sided tape provided on the lights to stick in place. After they are in place screw down one side to prevent them from ever falling off. (be careful not to break the light by going too tight)
After you are done with all the lights you can connect the plug back into the light and mount it back in place. you may need to cut the liner so the wire goes to the side of the light.
now enjoy never having to dig for a flashlight when you need to see inside your engine bay at night.