Probably no paint experts here, but I'll ask anyways:
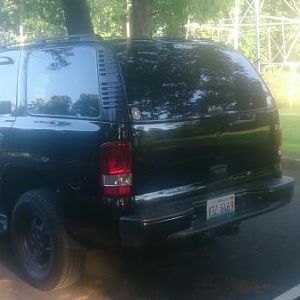
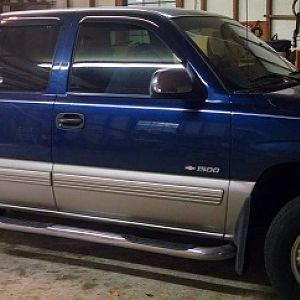
I'm coming up with a repaint schedule or procedure for this this truck. One of the things that's kinda ambigous watching the paint/body work YT channels I watch is: production settings they'll go with 2k urethane primer/sealer/surfacers vs "restoration" they almost always use epoxy. Restoration is the guys doing classics, rotisserie/body off frame, and that stuff. The stuff you watch were they start stripping a classic and find like 4 coats of paint, 3 eras of bondo and $hit like that, haha. Whereas production is your daily drivers or newer vehicles getting repainted due to collision or just scrapes/scuffs.
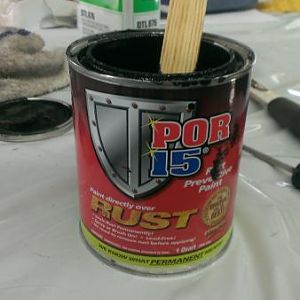
This is truck is neither and there's nothing that says you can't use both products. The epoxy undoubtedly offers better rust protection, but I read it's not really sand-able. I've only used epoxies for woodworking, have never sprayed automotive 2k epoxy, so IDK?
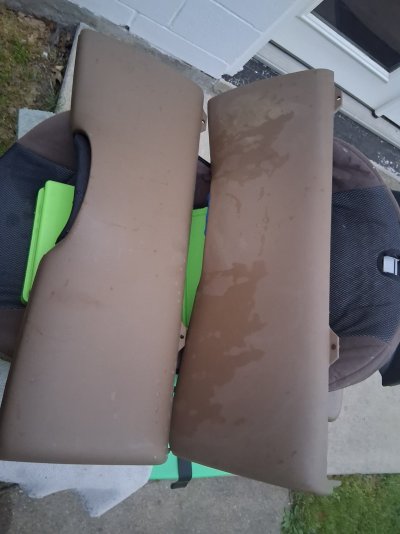
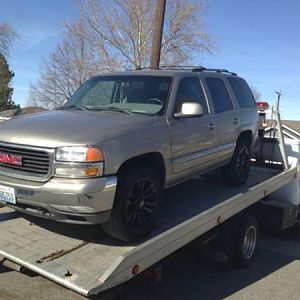
Anyways, here are some options I've come up with. We don't deal with really any rust down here, but since I'm doing the work myself (with the help of my 14 year son), it's basically just a bit more materials cost. And don't mind taking the plunge on the learning curve. Body work will be minimal, mostly just a bit of door dings, scuffs and a bit of hail dents. No welding, cutting/patching.
Anyways, here's what I have if anyone wants to critique or offer advice:
View attachment 5237
View attachment 5238
View attachment 5239
I'll probably use the Summit Racing 2k epoxy (Summit is local to me). My 2k primer is Upol UP2253 product, and Kapci high solids clear with the basecoat mixed by my local auto paint store to match my RPO code, which I have used before with good results. I painted the hood and roof of my 04 project suburban with 2k sealer, basecoat and 2k clearcoat, and that turned out fine. But i'm trying to step my game here
")
I found this article useful for a visual guide if anyone is interested:
https://help.summitracing.com/knowledgebase/article/SR-05353/en-us