Miklo's 2001 Silverado 2500HD Build Thread

Mikloangelo

Well-Known Member
Joined
Oct 21, 2025
Messages
142
Reaction score
413
Location
Dallas, TX
I guess I worded that wrong. When cranking the engine, the light should be on solid and after starting it should be on a second or two and then go out, as long as there is no current codes. It should not be flashing within 30 seconds after starting unless there are code(s).
Correct. We are on the same page. The CEL illuminated on start-up, went out, then came back on and then continued to flash indefinitely. Which lead me to pulling the code.
 

Mikloangelo

Well-Known Member
Joined
Oct 21, 2025
Messages
142
Reaction score
413
Location
Dallas, TX
Haven't done much lately. I loaded my short block of the trailer to get ready to haul to the machinist on Friday. Hopefully will have it back within 2 weeks. I did however start on the engine bay wiring. I stripped the old wire loom and pvc wrap off the old wires, sprayed the wires with alcohol and cleaned them up. Then used a heat resistant fabric tape to re-wrap the harness. I wrapped the engine harness, but still have the fuse box harness, ECM harness, and headlamp harness to go. Once done wrapping I'll cover everything with wire loom. I bought a ton of ADEL clamps to mount all the harnesses once the engine is installed.

Link for Fabic Tape
 

Attachments

  • 20260215_133720.jpg
    20260215_133720.jpg
    539.6 KB · Views: 15

AuroraGirl

Well-Known Member
Joined
Dec 24, 2023
Messages
435
Reaction score
853
Location
Wisconsin
Haven't done much lately. I loaded my short block of the trailer to get ready to haul to the machinist on Friday. Hopefully will have it back within 2 weeks. I did however start on the engine bay wiring. I stripped the old wire loom and pvc wrap off the old wires, sprayed the wires with alcohol and cleaned them up. Then used a heat resistant fabric tape to re-wrap the harness. I wrapped the engine harness, but still have the fuse box harness, ECM harness, and headlamp harness to go. Once done wrapping I'll cover everything with wire loom. I bought a ton of ADEL clamps to mount all the harnesses once the engine is installed.

Link for Fabic Tape
Might consider an idler arm upgrade I heard the stock bracket is sometimes insufficient
 

stutaeng

Well-Known Member
Joined
Feb 9, 2022
Messages
858
Reaction score
2,258
Location
Dallas, TX
Looking good! You are still planning on painting your frame, right?

Not sure if you removed the harness off the truck, but all you have to do is remove it from the transmission and O2 sensors. The only trick is to heat the NSS switch connector gently with a heat gun because they use some sort of adhesive at the factory. A lot of guys don't know this and wind up breaking the connector or the NSS.

Look into the transmission speed sensors wiring as well. On my 06 Suburban when I did the RMS, those wires had the insulation broken off right at the connector and after I put everything together they touched and I got a fault code. I put some liquid electrical tape and added additional tape for insulation.

I love these types of builds! Great job!
 

Mikloangelo

Well-Known Member
Joined
Oct 21, 2025
Messages
142
Reaction score
413
Location
Dallas, TX
Looking good! You are still planning on painting your frame, right?

Not sure if you removed the harness off the truck, but all you have to do is remove it from the transmission and O2 sensors. The only trick is to heat the NSS switch connector gently with a heat gun because they use some sort of adhesive at the factory. A lot of guys don't know this and wind up breaking the connector or the NSS.

Look into the transmission speed sensors wiring as well. On my 06 Suburban when I did the RMS, those wires had the insulation broken off right at the connector and after I put everything together they touched and I got a fault code. I put some liquid electrical tape and added additional tape for insulation.

I love these types of builds! Great job!
yessir. I did not remove the harness fully. I stopped right around the firewall before going to the NSS. Good information on the NSS, If i had gone that far back I am certain i would have broken it. ;). I will be sure and check out the transmission speed sensor while im at it.

Also, yes i am still planning on painting the frame, but still have a bit of work on degreasing and removing bits of road tar and rock.
 

Mikloangelo

Well-Known Member
Joined
Oct 21, 2025
Messages
142
Reaction score
413
Location
Dallas, TX
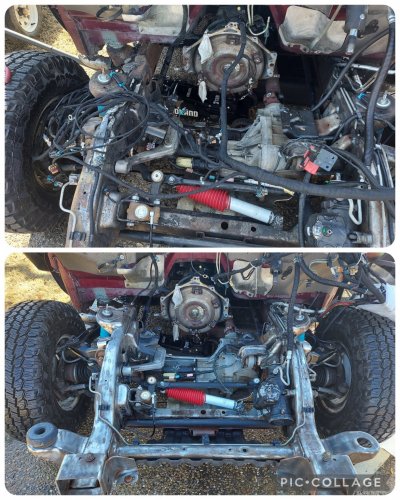
I havent had the time to get back to the wiring harness. But i did manage to take my short block to the machinist today using a friend's Jeep.
So after some discussion with the machinist, i will be getting Gen 4 connecting rods, flat top pistons, and a .03 bore. Along with all the crank balancing and new bearings all the way around. The engine will be baked, then soda blasted, and he will even paint it Chevy Orange for me.
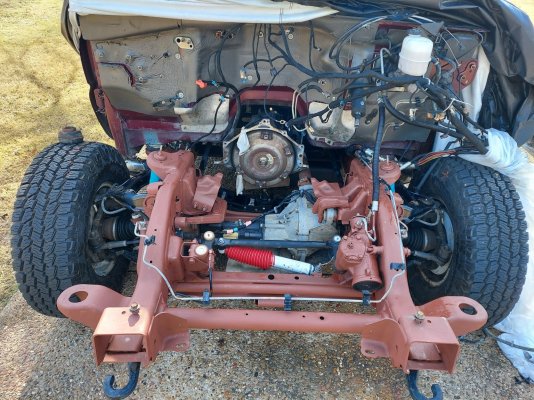
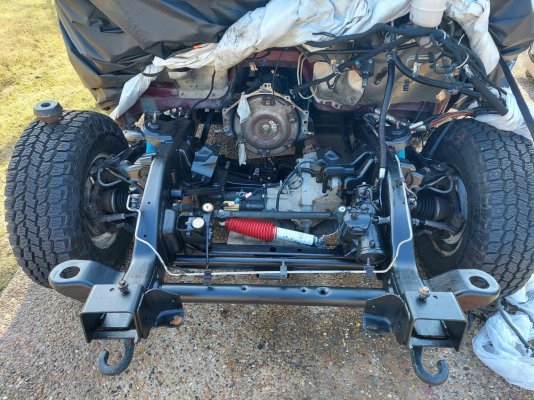
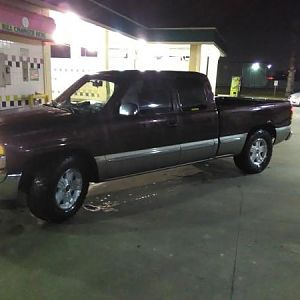
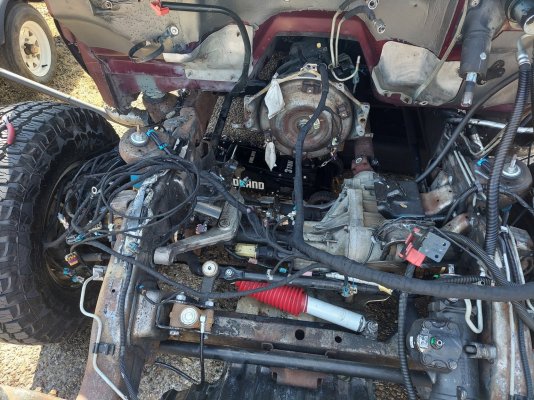
I excited to get this thing back, because it was black with oil, and nasty. This engine was a dog before, but I am waking this thing up to be a hell of a tow beast. Kind of a shame its going back in a truck body that has seen better days.
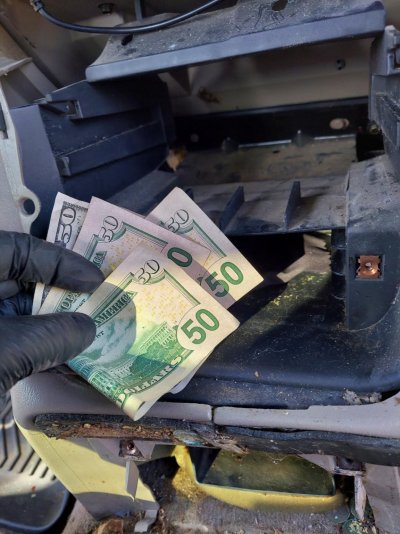
Heading out to the casino for my wife's birthday, so maybe i can get more money to throw at the truck. Ha!
 

Mikloangelo

Well-Known Member
Joined
Oct 21, 2025
Messages
142
Reaction score
413
Location
Dallas, TX
Put the wire wrap and wire loom on hold so I could degrease and power wash everything prep for paint. Wire wheeled everything I could touch then degreased everything and power washed it. Then went back and degreased again and scraped what I could and powerwashed again. Let it air dry for a bit and then sprayed everything with acetone and wiped everything to remove standing water and and left over grease.
Decided I was going to try the rustoleum rather than por15 since it's easier to find local.
Tomorrow I will use the rustoleum rusty metal primer and then hopefully will go over that with the satin black protective enamel the next day.
 

Attachments

  • Collage_2026-02-22_18_32_16.jpg
    Collage_2026-02-22_18_32_16.jpg
    536.2 KB · Views: 14

Mikloangelo

Well-Known Member
Joined
Oct 21, 2025
Messages
142
Reaction score
413
Location
Dallas, TX
Skipped out a few hours on work today. Took the time to wipe everything with acetone and brush on a coat of Rustoleum rusty metal primer. Again, not perfect but it will accomplish what i need it to do. Hope to lay down the enamel sometime during this week.
 

Attachments

  • 20260223_144921.jpg
    20260223_144921.jpg
    553.9 KB · Views: 9

Mikloangelo

Well-Known Member
Joined
Oct 21, 2025
Messages
142
Reaction score
413
Location
Dallas, TX
Dang. Looks great!

You are basically almost halfway to a frame-off restoration job. LOL

The folks in the rustbelt would be stoked to see this frame condition up there...View attachment 5472
Don't tell me that. My brain WILL want to do exactly that! Lol.
I give credit to my leaky rear main seal, oil pan gasket, and power steering lines as to the reason why the frame looked so good.
 

Mikloangelo

Well-Known Member
Joined
Oct 21, 2025
Messages
142
Reaction score
413
Location
Dallas, TX
Finally put a coat of the Satin Black Rustoleum today. I plan to give it another coat before I call it good enough and go back to wrapping wiring harnesses. Overall, I am pretty happy with the results.
After I put on a coat of paint, i decide to unbolt the seats and remove the center console to prep for the heater core removal while i wait for the engine to get back from the machinist. While removing the cassette player from the auxiliary center console, i found $200 in fifties. I guess she is paying me back for cleaning her up. So that was a nice surprise!

The plan while the dash is out is to replace the three blend door actuators, heater core, and AC evaporator core. I may go ahead and order those Temu top dash assemblies. If you didnt know, Temu sells the top of the dash, not a cover, a replacement. I have seen good reviews on them. Mine is okay shape but a few of the defrost vent blades are broken. I will also probably prep and paint the dash and pillars.
 

Attachments

  • 20260301_151927.jpg
    20260301_151927.jpg
    539.6 KB · Views: 11
  • 20260301_160924.jpg
    20260301_160924.jpg
    291.8 KB · Views: 11
  • 20260301_160945.jpg
    20260301_160945.jpg
    308.4 KB · Views: 10

Latest posts

Members online

No members online now.
Top