Mikloangelo
Well-Known Member
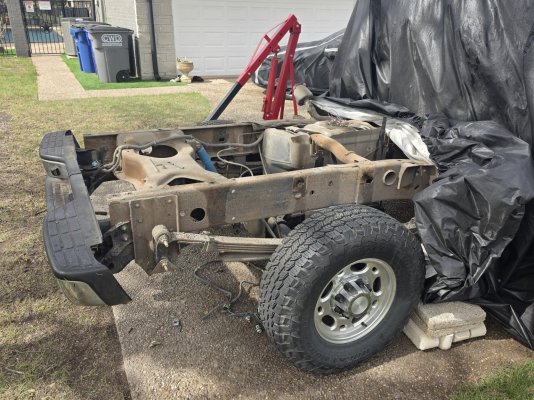
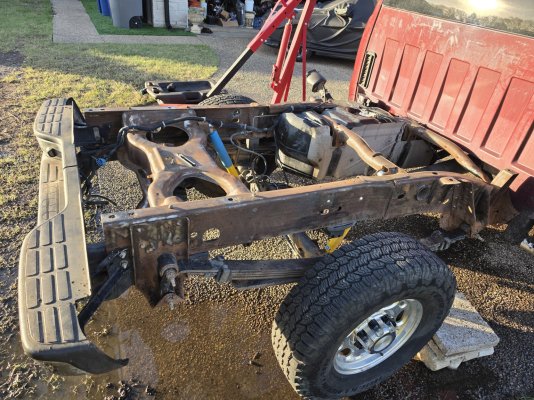
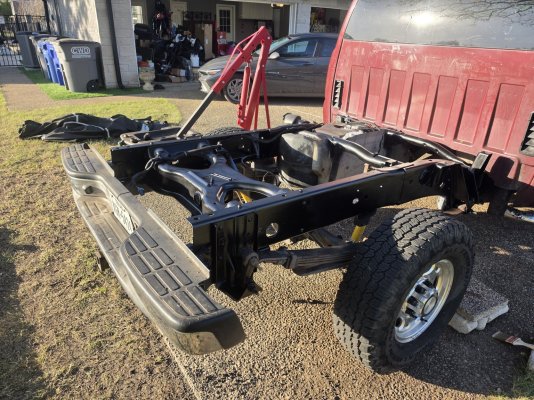
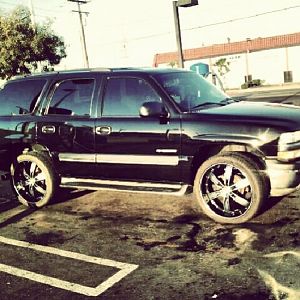
Haha. Definitely not show quality, but Thanks for the compliment nonethelessWow, that looks impressive! Show truck frame
Those fifties...[head explosion emoji]
Haha. Definitely not show quality, but Thanks for the compliment nonethelessWow, that looks impressive! Show truck frame
Those fifties...[head explosion emoji]
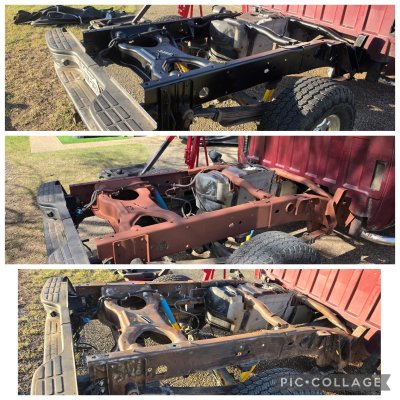
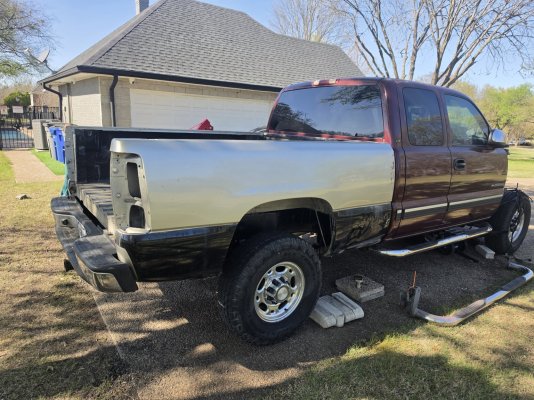
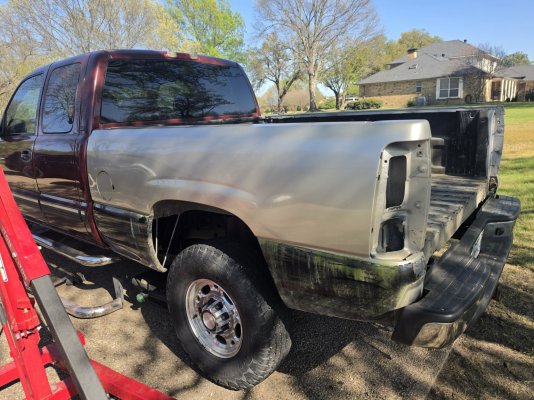
All I ever find is change, how did you find $50's?Finally put a coat of the Satin Black Rustoleum today. I plan to give it another coat before I call it good enough and go back to wrapping wiring harnesses. Overall, I am pretty happy with the results.
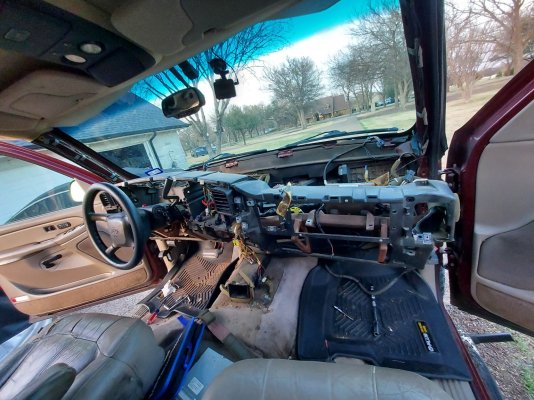
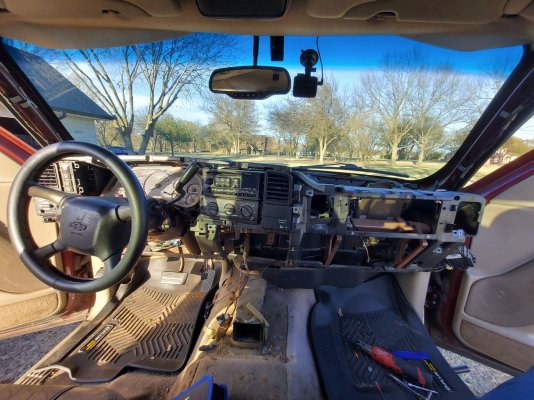
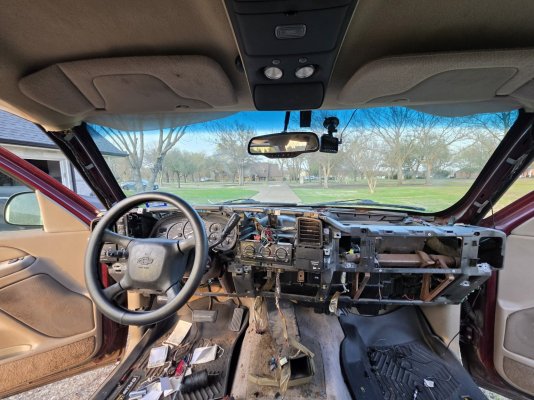
After I put on a coat of paint, i decide to unbolt the seats and remove the center console to prep for the heater core removal while i wait for the engine to get back from the machinist. While removing the cassette player from the auxiliary center console, i found $200 in fifties. I guess she is paying me back for cleaning her up. So that was a nice surprise!
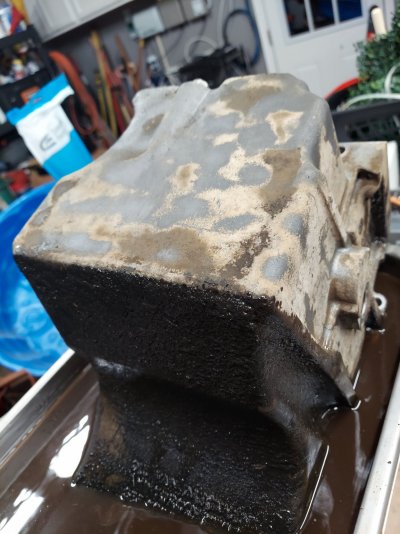
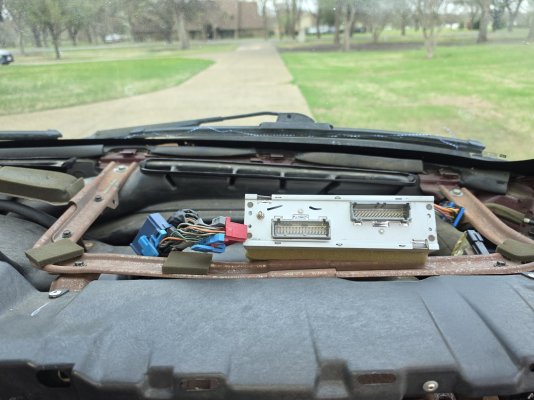
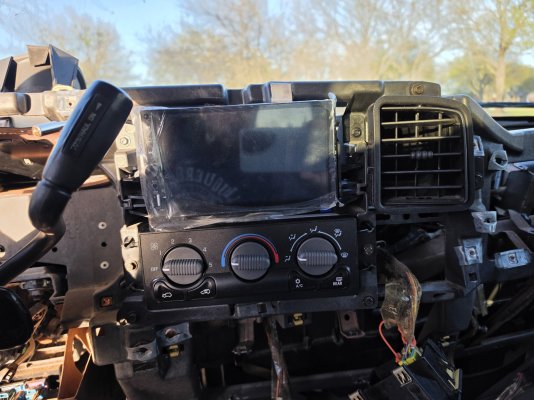
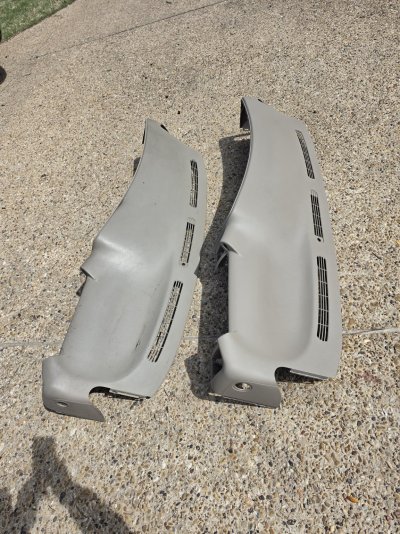
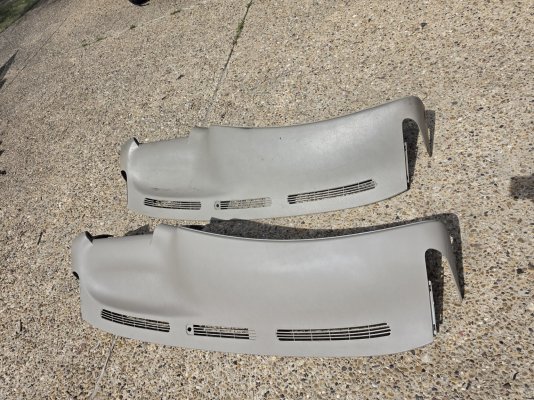
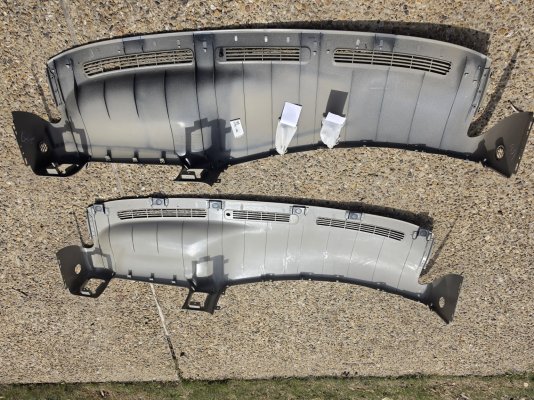
The plan while the dash is out is to replace the three blend door actuators, heater core, and AC evaporator core. I may go ahead and order those Temu top dash assemblies. If you didnt know, Temu sells the top of the dash, not a cover, a replacement. I have seen good reviews on them. Mine is okay shape but a few of the defrost vent blades are broken. I will also probably prep and paint the dash and pillars.
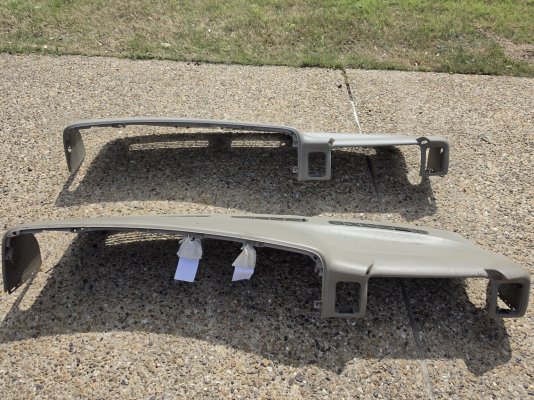
Link to this product?Temu dash board came in unexpectedly. Temu thinks it's lost, and I had ordered another just in case. That one will be here tomorrow.
Temu lists it as an overlay, but it isn't. It is a perfect replacement. Im pretty impressed with the color and overall design. I test fit it in the truck and it fits exactly. I have read that you should put some sound deadening material where the brackets are by the windshield to eliminate any noise, so i will plan on doing that.
I am super happy with this and recommend to anyone looking for a new dash for around $130.
https://share.temu.com/D84CrCm0OICLink to this product?
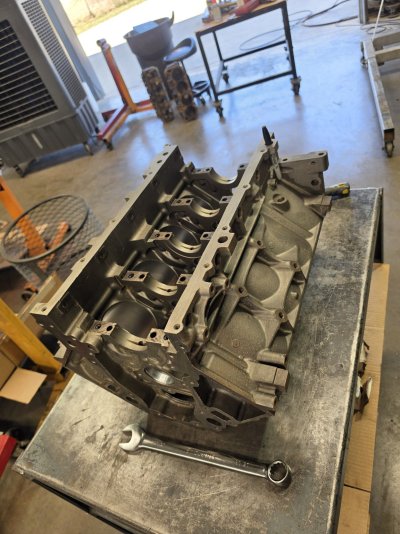
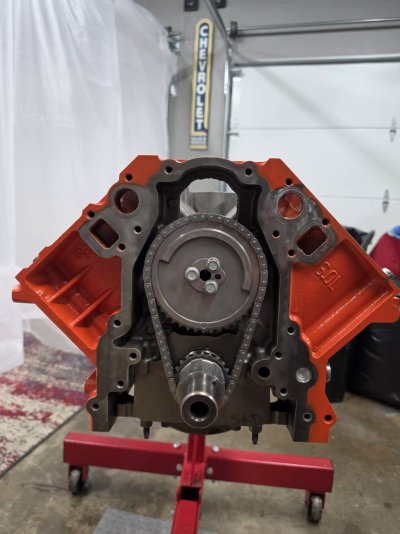
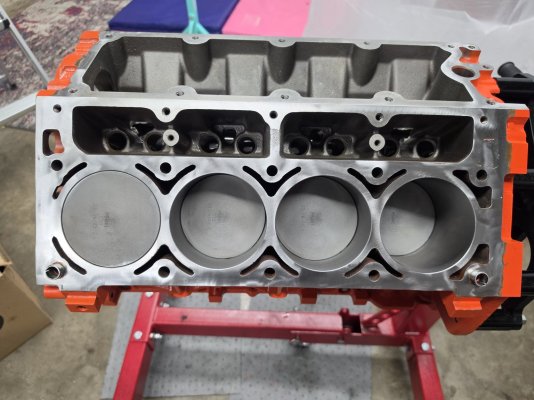
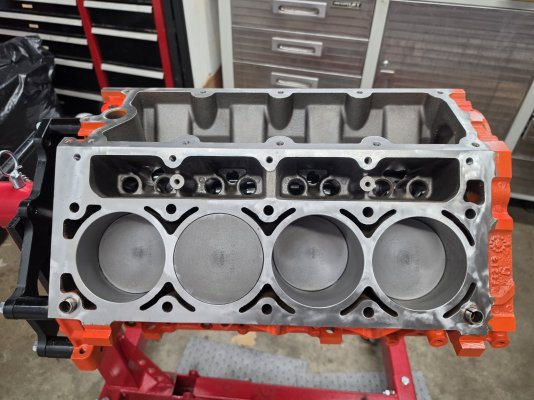
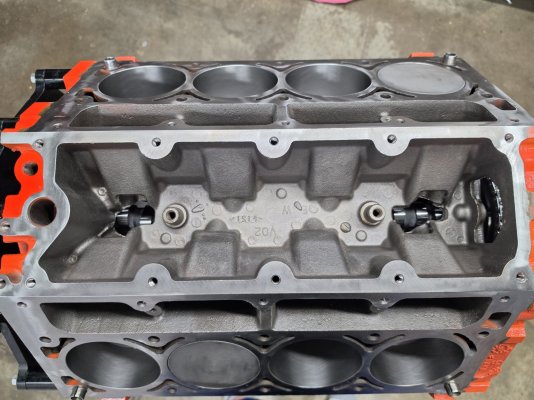
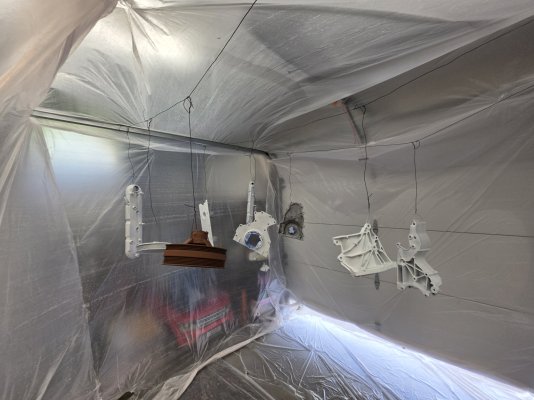
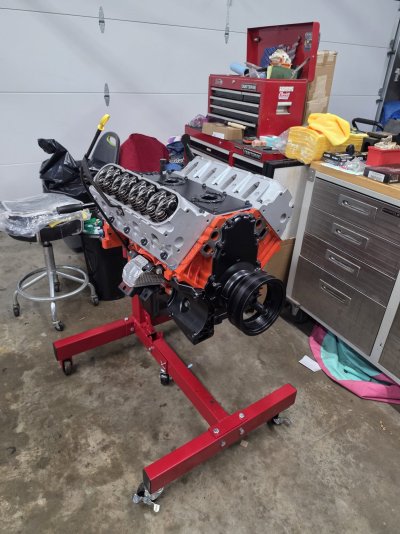
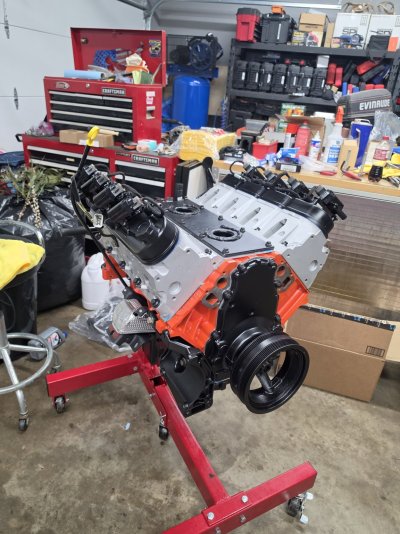
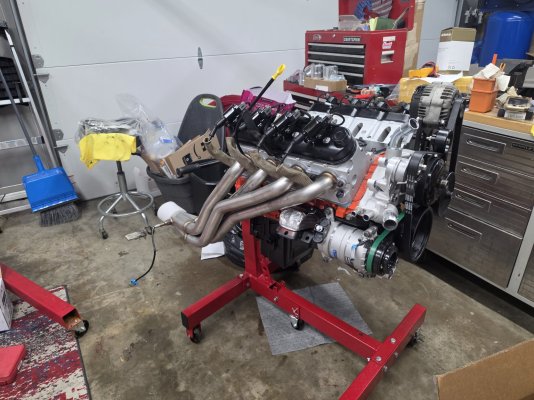
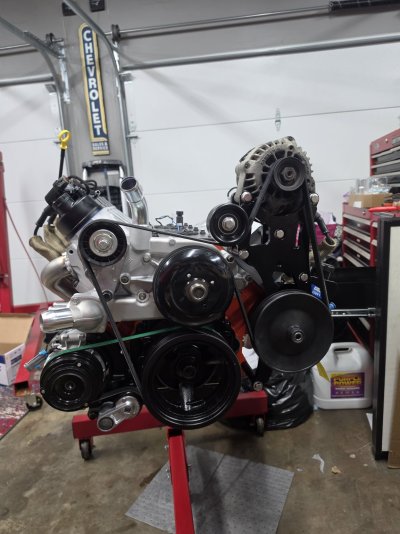
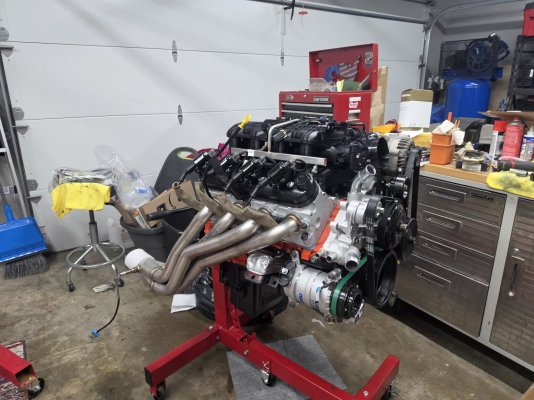
Sweet!A sneak peak. Almost done just need to prime the engine and then i can throw the valve covers, fully install the valley cover and knock sensors, and throw on the headers and I'll be ready to toss it in the truck.
Thats exactly what im waiting for. I have the pump sprayer, just waiting for fittingnto come in. Should be here tomorrow, but I wouldn't bet on it. Probably Monday.Sweet!
You can prime it with those adapters and a $10 Walmart garden pump sprayer and sone hardware fittings...